


Description
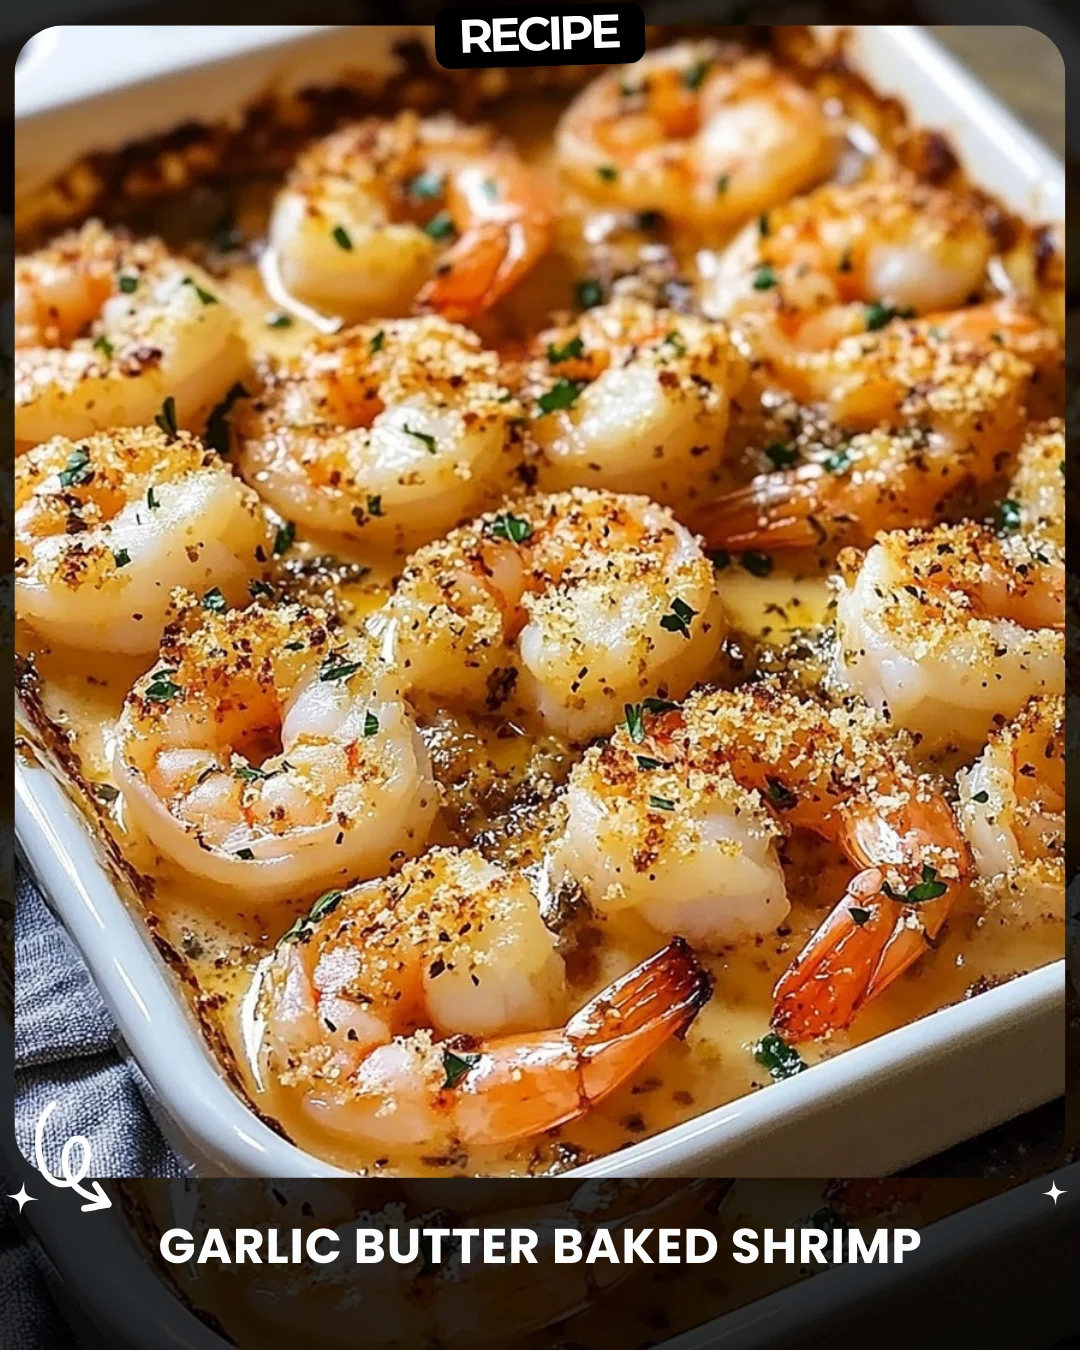
Garlic Butter Baked Shrimp
For cheese lovers, this version features a rich and cheesy crust on top of the shrimp.
Ingredients:
1 lb shrimp, deveined
1/2 cup butter, melted
3 garlic cloves, minced
1/2 cup shredded mozzarella cheese
1/4 cup grated Parmesan
1/4 cup breadcrumbs
Preparation:
Preheat oven to 375°F (190°C).
Place shrimp in a greased baking dish.
Combine butter, garlic, and Parmesan. Pour over shrimp.
Top with mozzarella and breadcrumbs.
Bake for 15-20 minutes until cheese is bubbly.
Tip: Serve with steamed veggies for a balanced meal.
#CheesyButterShrimp
Step-by-Step Guide
Follow these detailed instructions for perfect Garlic Butter Baked Shrimp every time.
- Preheat your oven to 375°F (190°C) and lightly grease a medium-sized baking dish with butter or non-stick spray.
- Pat the deveined shrimp completely dry with paper towels. This ensures the butter mixture clings properly.
- Arrange the shrimp in a single layer in the prepared baking dish.
- In a small bowl, thoroughly combine the melted butter, minced garlic, and grated Parmesan cheese.
- Pour the garlic butter mixture evenly over the shrimp, ensuring each piece is coated.
- In another bowl, mix the shredded mozzarella cheese with the breadcrumbs. Sprinkle this mixture evenly over the shrimp.
- Bake on the middle rack for 15-20 minutes, or until the shrimp are pink and opaque, the cheese is fully melted and bubbly, and the breadcrumbs are golden brown.
- Let the dish rest for 2-3 minutes after removing it from the oven before serving.
Serving Suggestions
This rich and flavorful shrimp dish pairs beautifully with sides that can soak up the delicious garlic butter sauce. Serve it over a bed of angel hair pasta, zucchini noodles, or steamed white rice. For a low-carb option, try it with cauliflower rice. As noted, steamed vegetables like broccoli, asparagus, or green beans make an excellent balanced accompaniment. A crisp green salad with a lemon vinaigrette also cuts through the richness perfectly.
How-to Summary
In short: Preheat oven to 375°F. Place dry shrimp in a greased dish. Mix melted butter, garlic, and Parmesan, then pour over shrimp. Top with a mix of mozzarella and breadcrumbs. Bake for 15-20 minutes until golden and bubbly.
Frequently Asked Questions
Can I use frozen shrimp?
Yes. Thaw frozen shrimp completely in the refrigerator overnight, then pat them very dry before using to prevent a watery dish.
What’s the best type of shrimp to use?
Large (31/40 count) or jumbo (21/25 count) shrimp work best. You can use peeled or shell-on based on preference, but peeled are easier to eat.
Can I prepare this dish ahead of time?
You can assemble the dish up to the point of baking, cover it tightly, and refrigerate for up to 4 hours. Add a few extra minutes to the baking time if cooking from cold.
How do I store and reheat leftovers?
Store in an airtight container in the fridge for up to 2 days. Reheat gently in a 350°F oven or in a skillet on the stovetop to maintain texture; avoid the microwave.
Can I substitute the cheeses?
Absolutely. For a sharper flavor, try Asiago or Romano instead of Parmesan. For the topping, a blend of Italian cheeses or Gruyère would also be delicious.
Common Mistakes to Avoid
- Not Drying the Shrimp: Excess moisture will steam the shrimp and make the topping soggy.
- Overcooking: Shrimp cook quickly. Bake just until they turn pink and opaque to avoid a rubbery texture.
- Using Cold Butter: Ensure the butter is fully melted and slightly cooled so it mixes evenly with the garlic and cheese.
- Skipping the Breadcrumbs: They provide essential texture and help prevent the cheese from becoming greasy.
Conclusion
This Garlic Butter Baked Shrimp recipe is a guaranteed crowd-pleaser that combines succulent seafood with the irresistible flavors of garlic, butter, and melted cheese. It’s deceptively simple to make, yet elegant enough for a special dinner. By following the step-by-step guide and heeding the tips to avoid common pitfalls, you’ll create a restaurant-quality dish right in your own kitchen. Enjoy the delicious results!