


Description
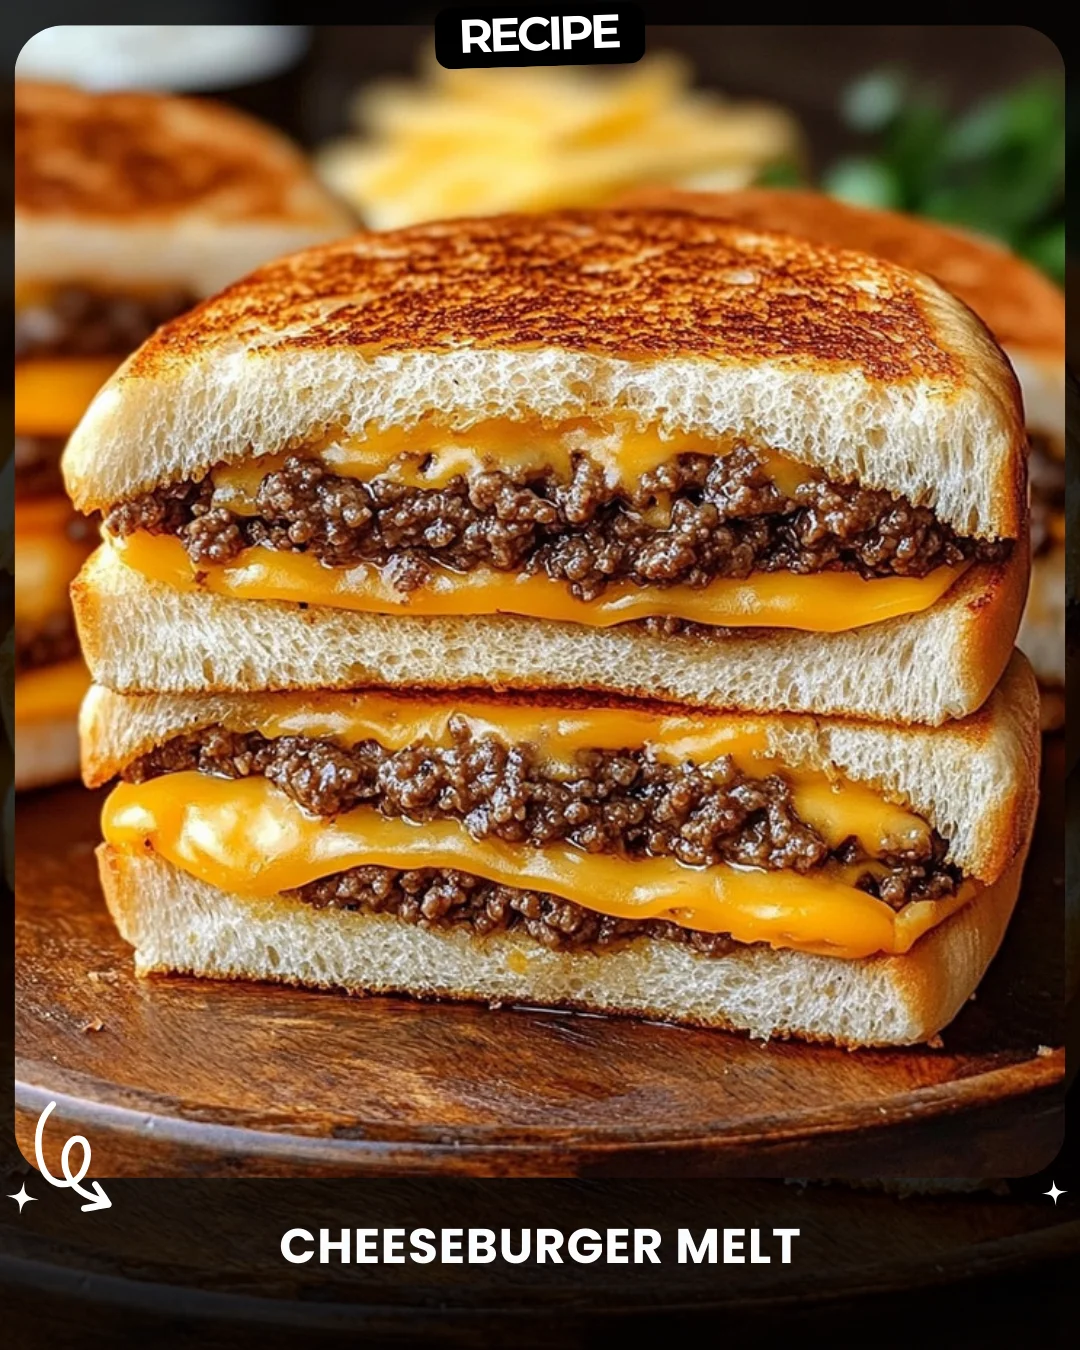
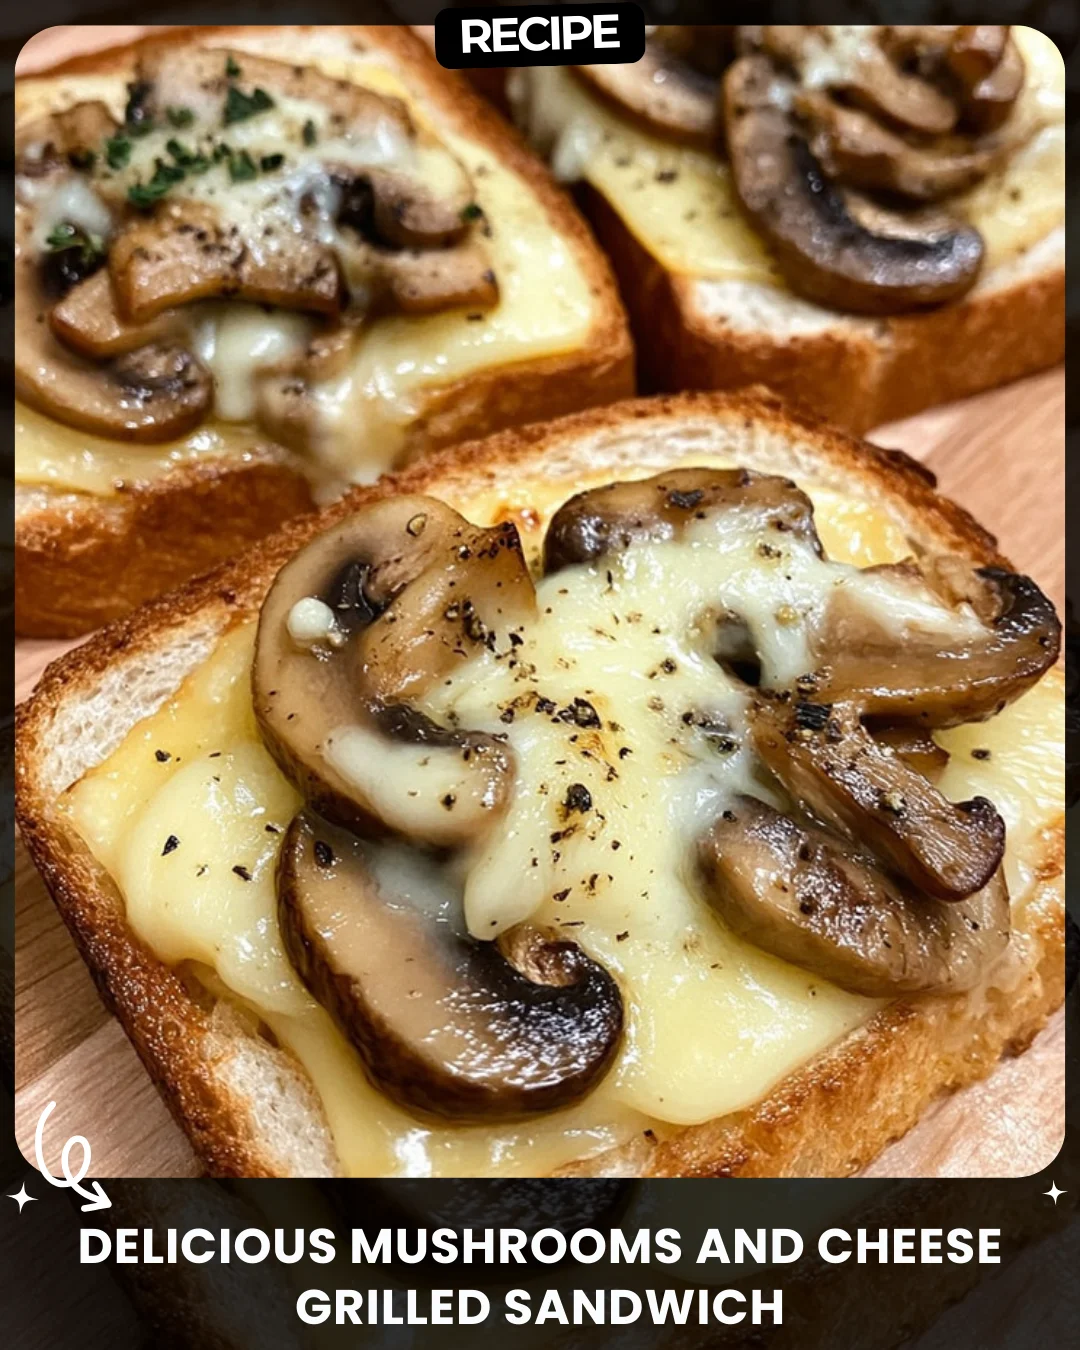
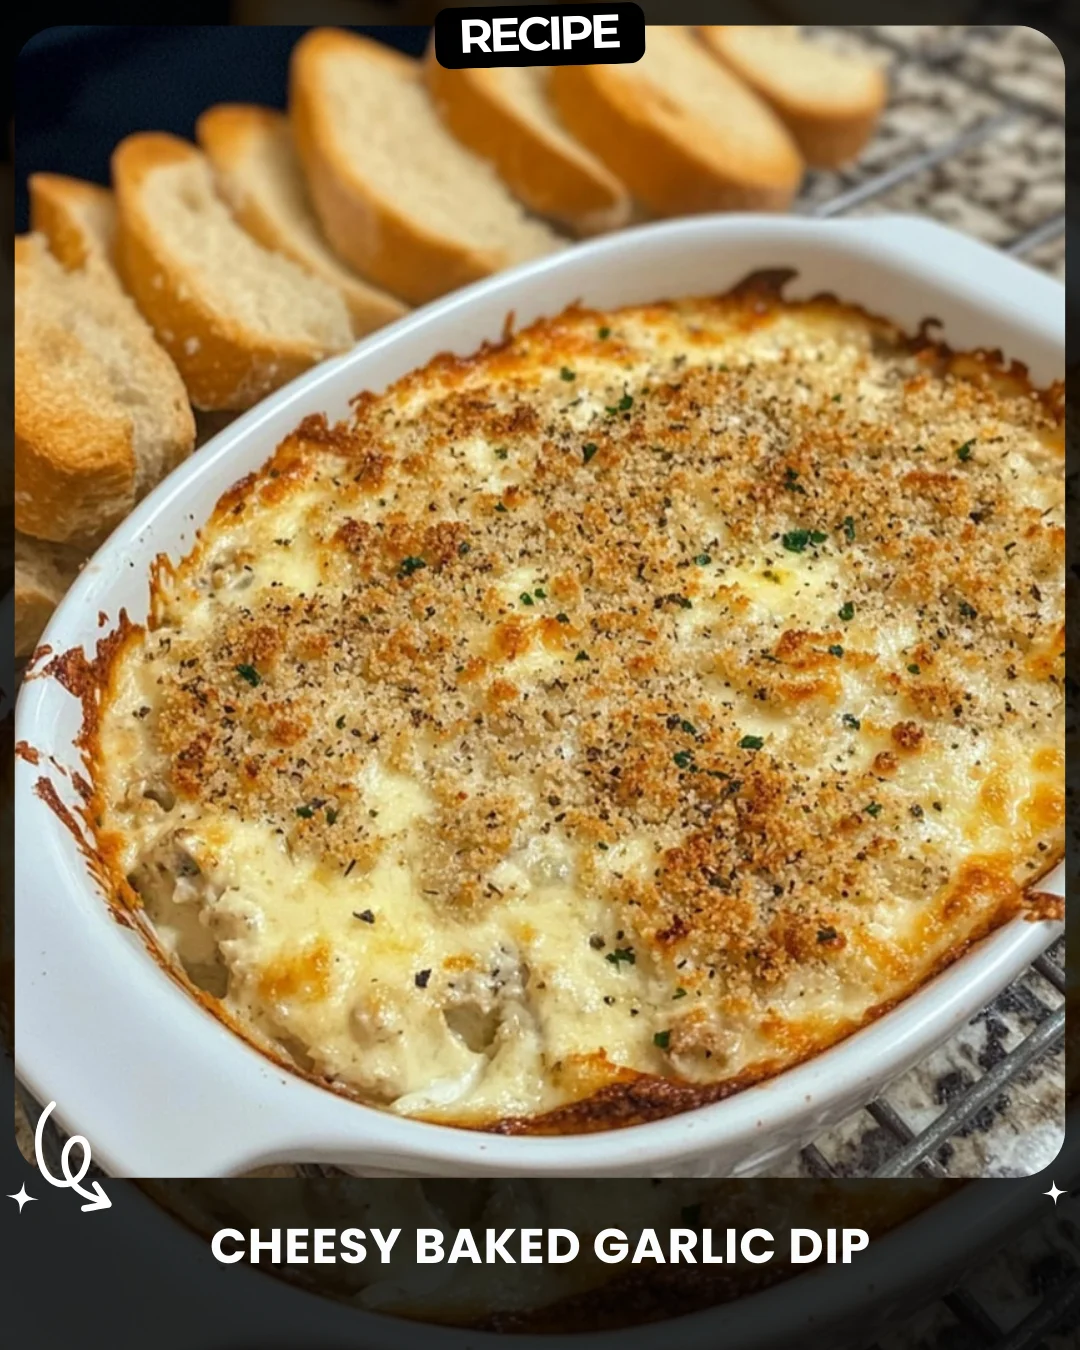
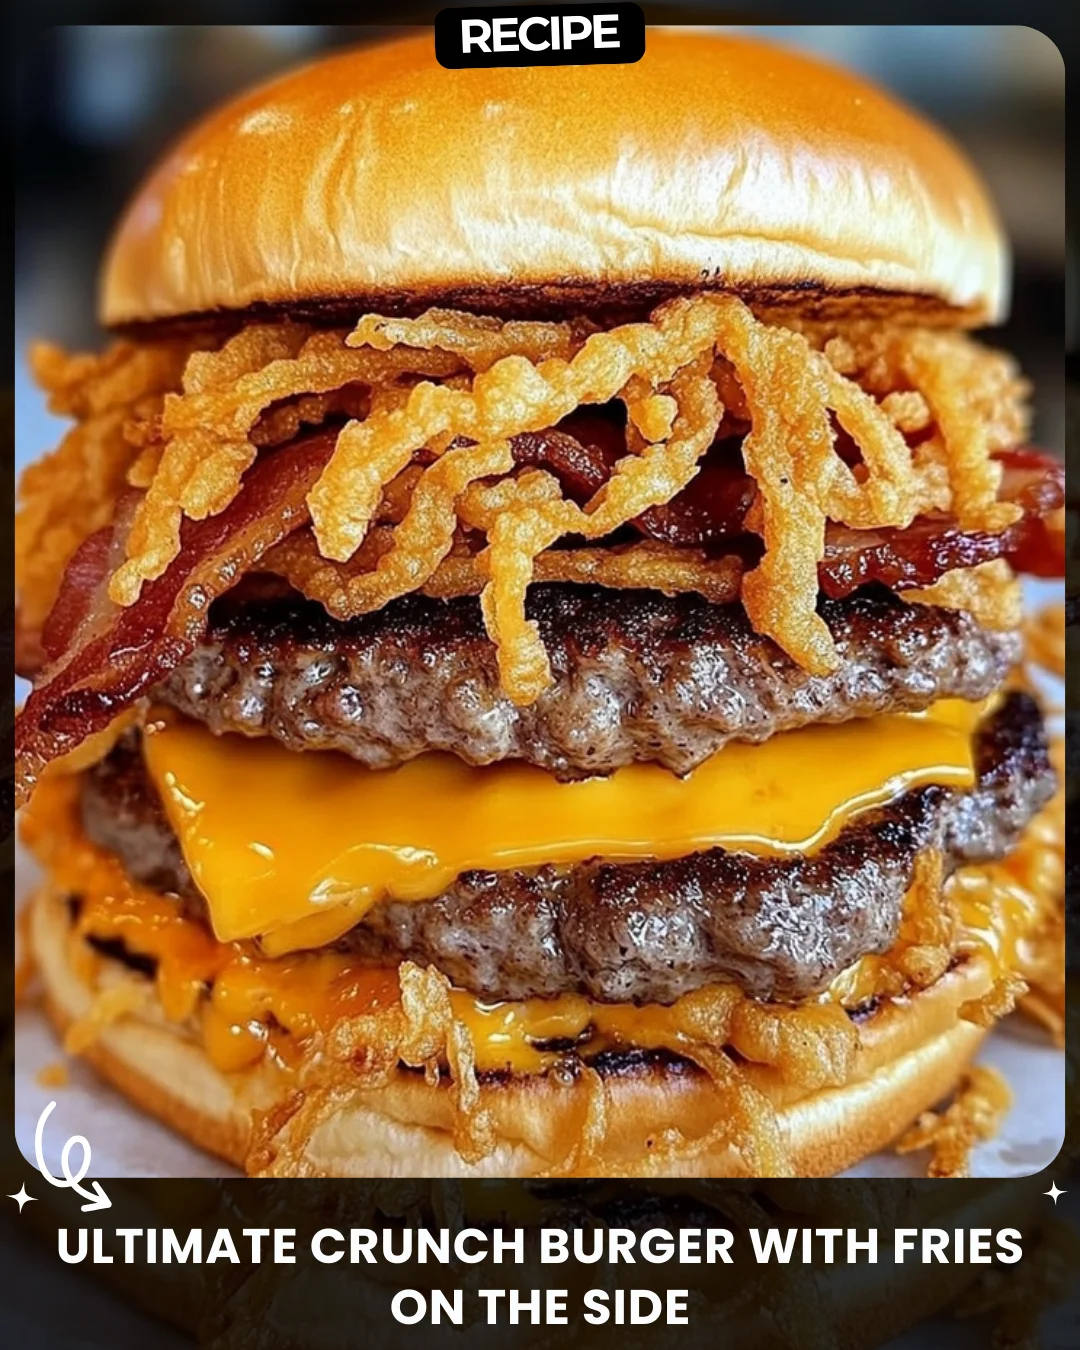
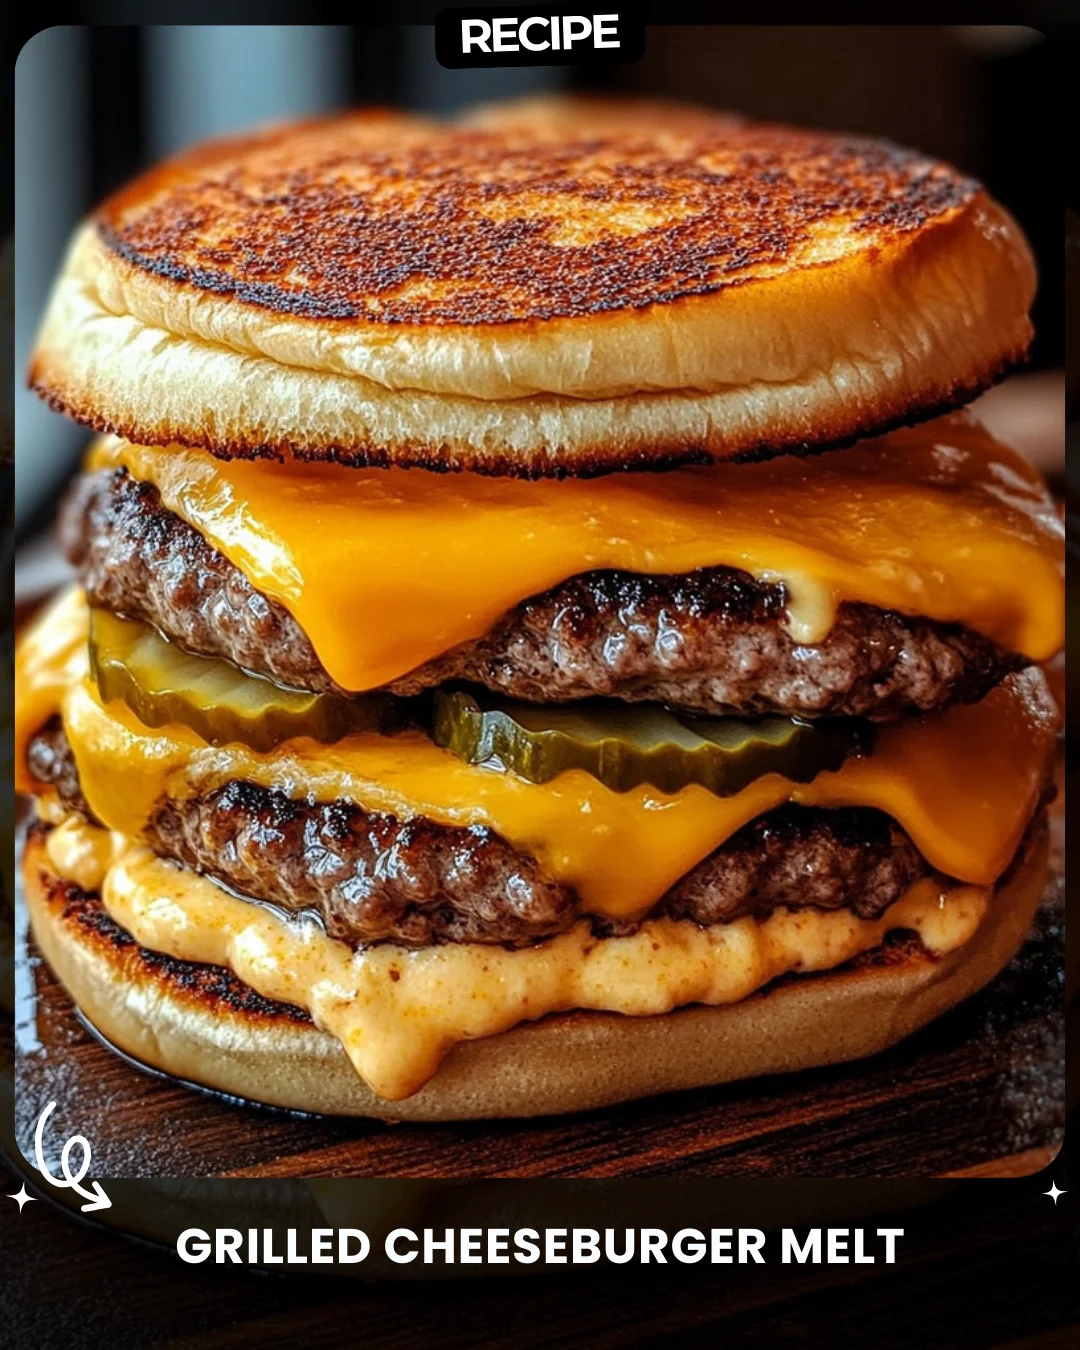
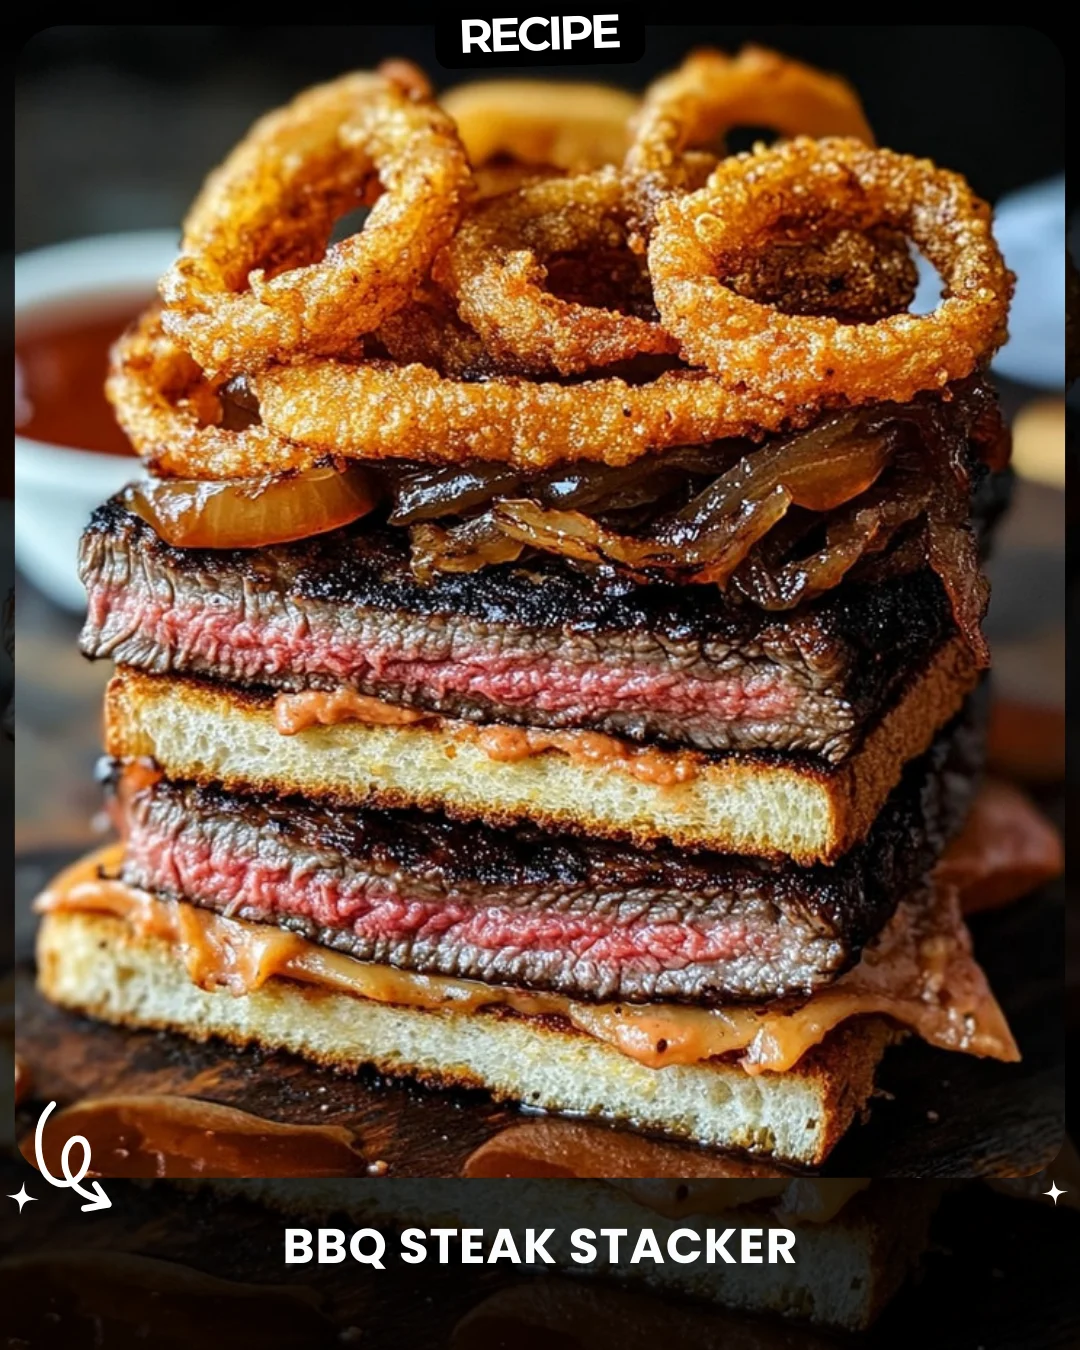
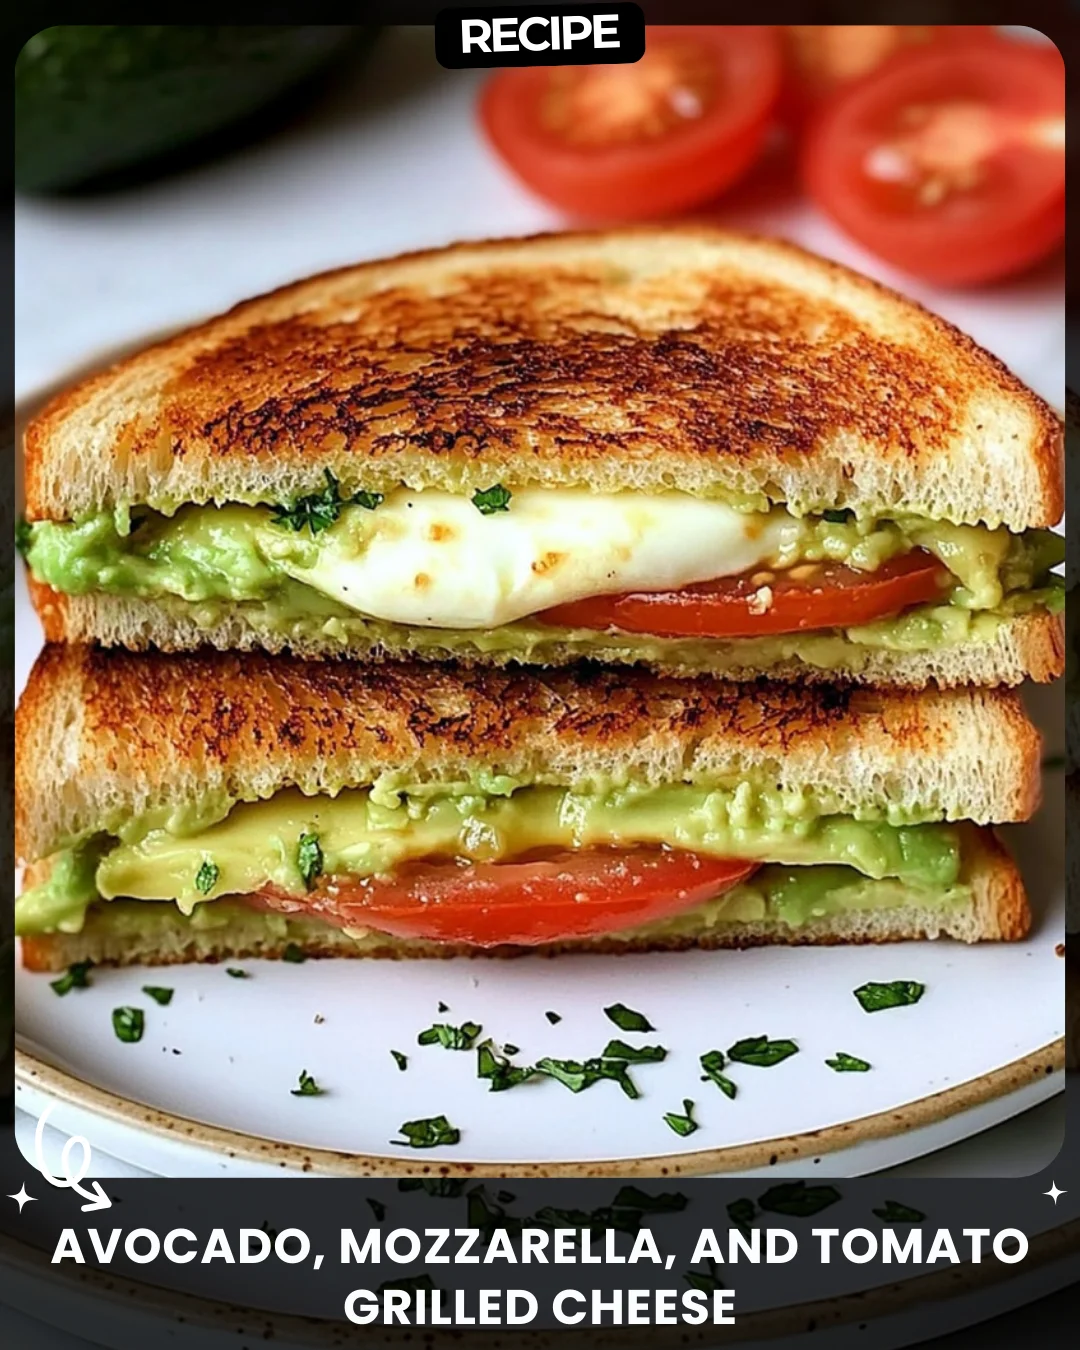
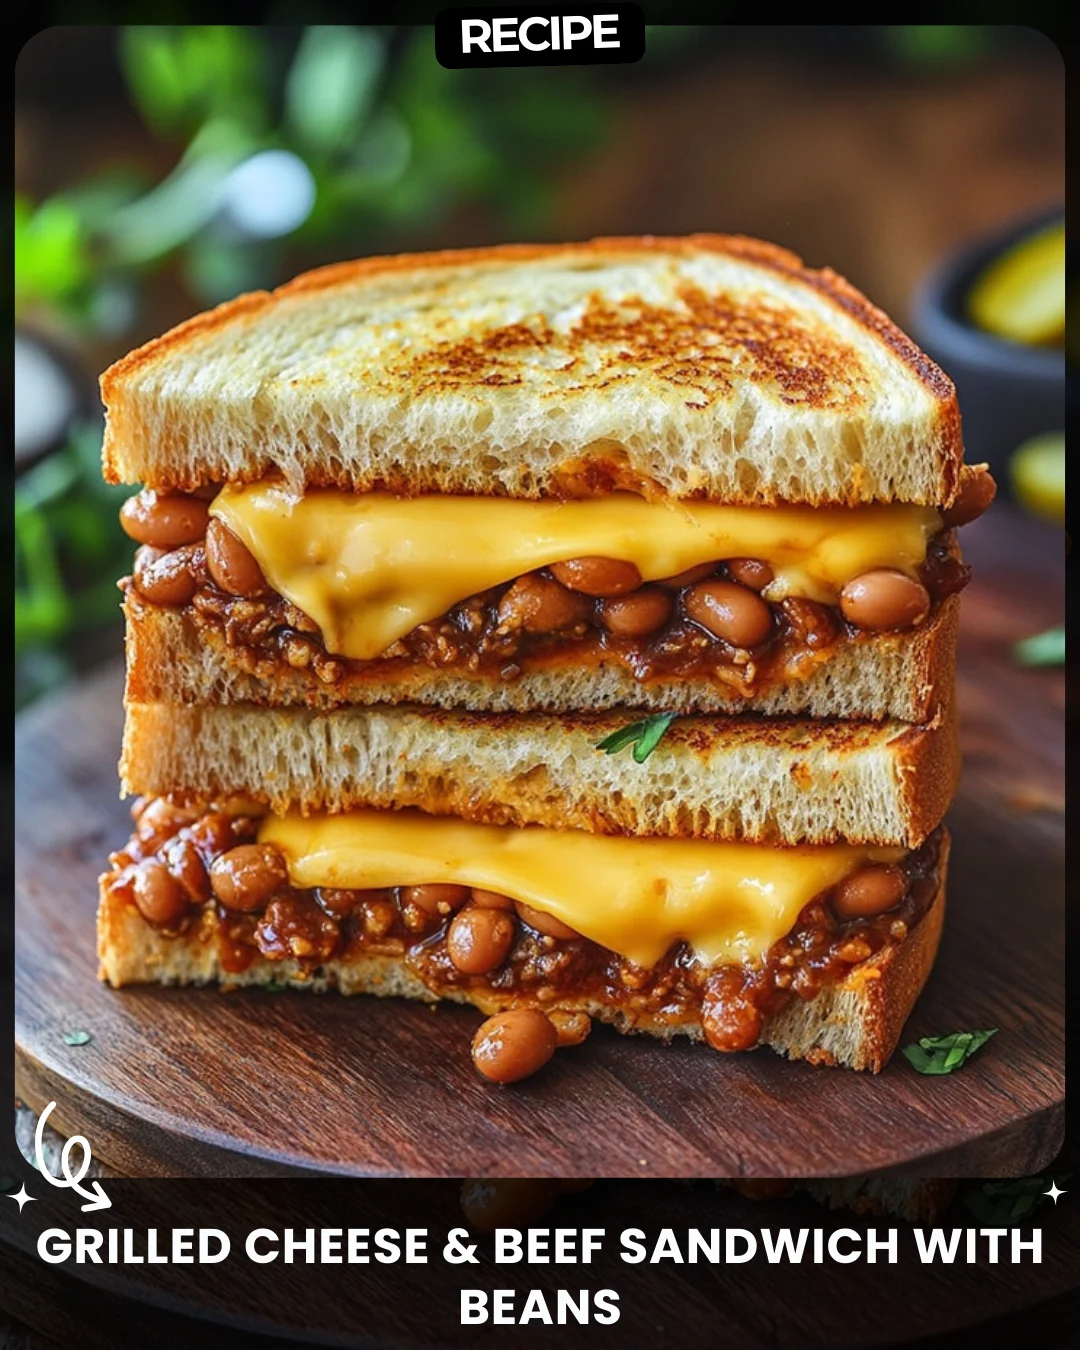
Grilled Cheese & Beef Sandwich with Beans
Ingredients:
2 slices sandwich bread
½ cup ground beef
¼ cup baked beans
2 slices cheddar cheese
1 tbsp butter
½ tsp mustard
1 tbsp caramelized onions
½ tsp black pepper
Instructions:
Heat a pan and butter one side of each bread slice.
Place one slice in the pan, add cheddar cheese, beef, beans, onions, mustard, and pepper.
Add another slice of cheese and cover with the second slice of bread.
Cook on medium heat until crispy, then flip and cook the other side.
Serve warm and enjoy the cheesy goodness!
A classic sandwich with a hearty twist! What side would you pair it with?
#MeltedPerfection
Step-by-Step Guide
Follow these detailed instructions for the perfect grilled cheese and beef sandwich.
- Prepare Your Ingredients: Have your ground beef cooked and seasoned, onions caramelized, and baked beans warmed and slightly mashed. Butter one side of each slice of bread.
- Build the Sandwich: Place one bread slice, buttered side down, in a cool pan. Layer one slice of cheddar cheese, the cooked ground beef, the baked beans, caramelized onions, a drizzle of mustard, and a sprinkle of black pepper. Top with the second slice of cheddar cheese.
- Cover and Cook: Place the second slice of bread on top, buttered side up. Turn the heat to medium-low. This allows the cheese to melt thoroughly without burning the bread.
- The First Flip: Cook for 3-4 minutes until the bottom is golden brown and crispy. Carefully flip the sandwich using a wide spatula.
- Final Cook & Serve: Cook the second side for another 3-4 minutes until golden. Press down gently with the spatula. Remove from the pan, let it rest for 1 minute, then slice and serve immediately.
Serving Suggestions
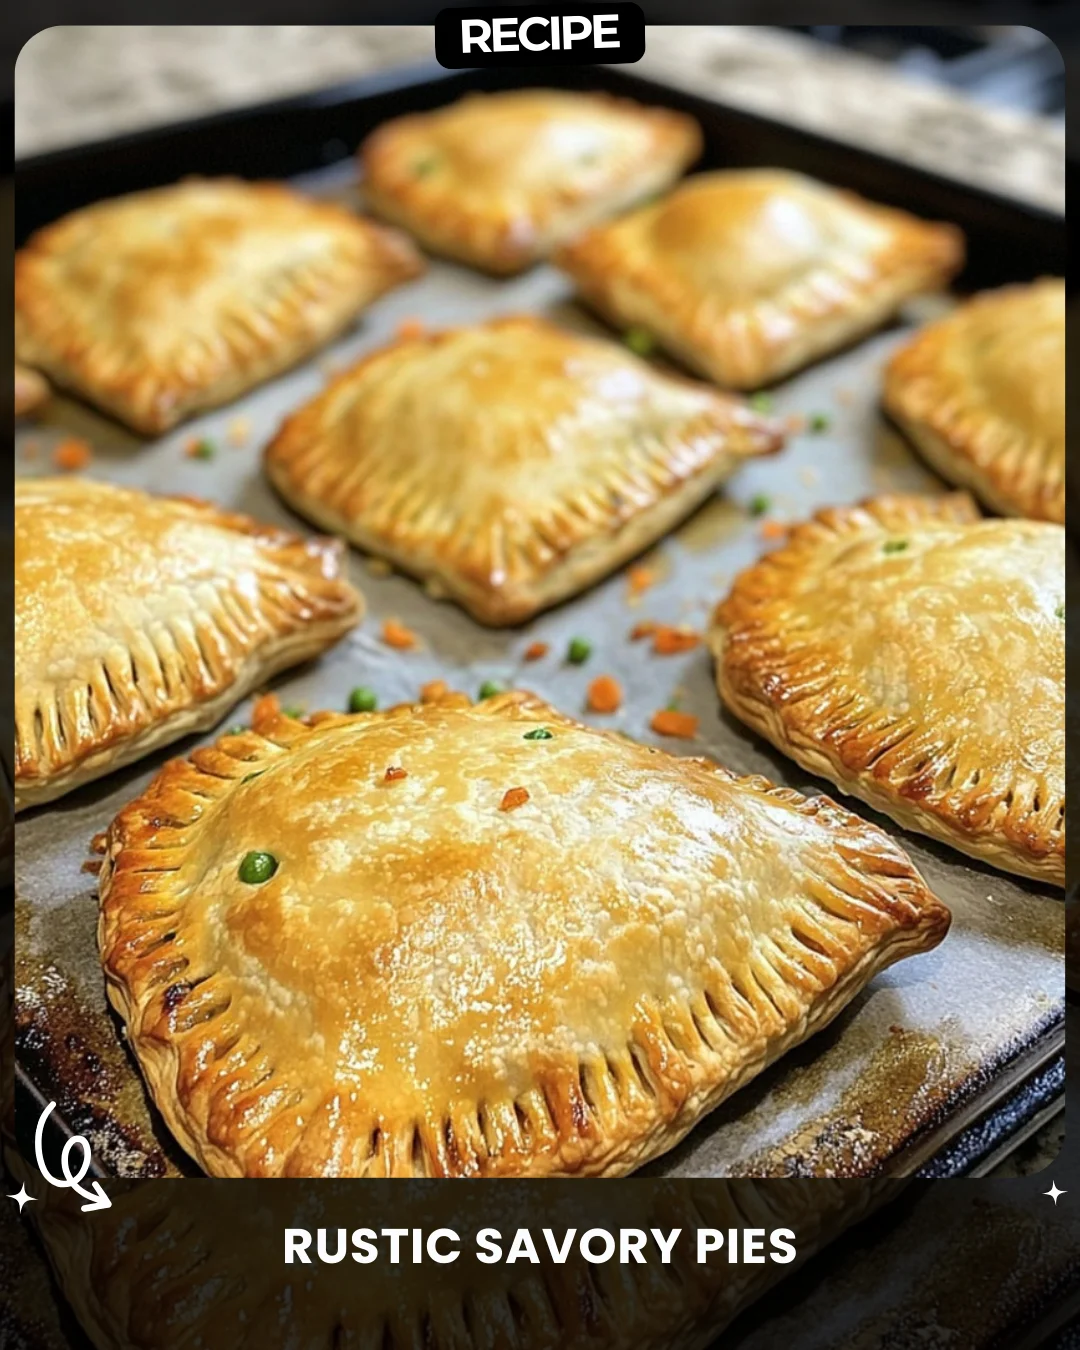
This hearty sandwich is a meal in itself, but these sides will complete your plate:
- A crisp, simple green salad with a tangy vinaigrette to cut through the richness.
- Classic dill pickle spears or a tangy coleslaw for a crunchy, acidic contrast.
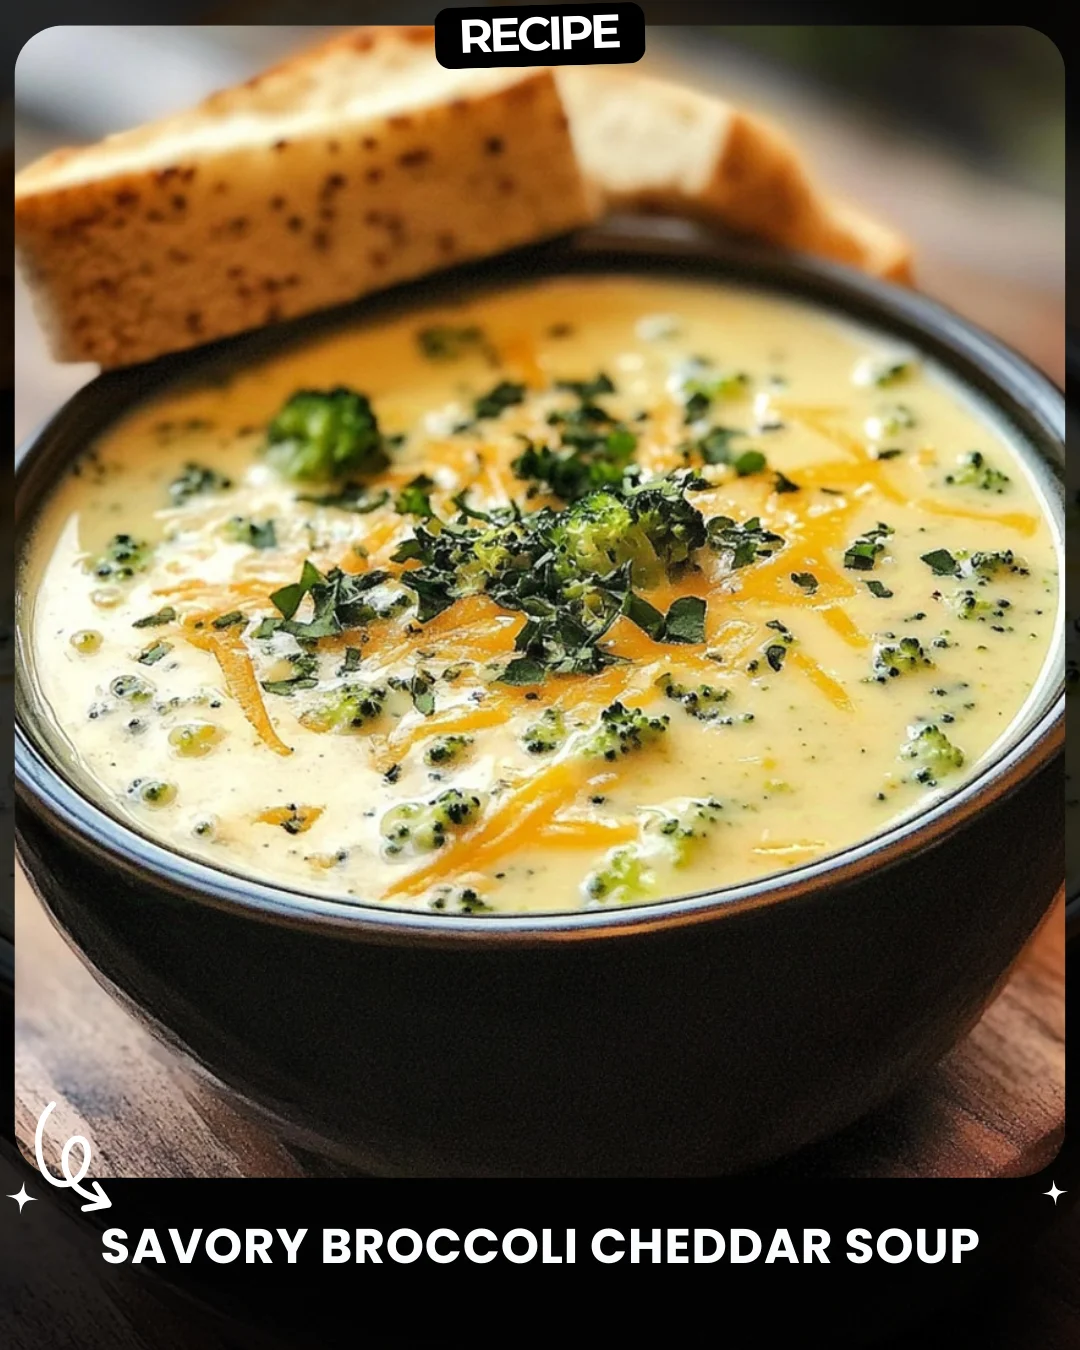
- A cup of tomato soup for the ultimate comforting duo.
- For a lighter option, serve with carrot and celery sticks.
How-to Summary
Butter bread, layer cheese, beef, beans, onions, mustard, and pepper in a pan, then top with more cheese and bread. Cook over medium-low heat until both sides are golden brown and the cheese is fully melted. Serve warm.
Frequently Asked Questions
Can I use a different type of cheese?
Absolutely. While cheddar offers excellent melt and flavor, Gouda, Monterey Jack, or even pepper jack for a kick are great alternatives.
How can I prevent the filling from falling out?
Ensure your beef and beans are not too wet (drain excess grease/liquid) and avoid overfilling. Pressing the sandwich gently while cooking helps seal it.
Can I make this in a panini press?
Yes! A panini press works wonderfully. Simply build the sandwich, butter the outer sides, and cook according to your press’s instructions until crispy.
What’s the best way to caramelize onions?
Cook thinly sliced onions in a bit of oil or butter over low heat for 25-30 minutes, stirring occasionally, until they are soft, golden brown, and sweet.
Can I prepare any components ahead of time?
Yes. Cook the ground beef and caramelize the onions up to 3 days in advance and store them in the refrigerator. Reheat slightly before assembling.
Common Mistakes to Avoid
- Heat Too High: This burns the bread before the cheese and fillings are warm. Use medium-low heat for even cooking and melting.
- Overfilling: Too much filling makes the sandwich difficult to flip and eat. Keep layers moderate.
- Using Cold Fillings: Adding cold beef or beans from the fridge lowers the pan’s temperature. Use warm or room-temperature fillings.
- Not Buttering the Bread: Butter is key for that iconic crispy, golden exterior. Don’t skip it or substitute with cooking spray.
Conclusion
This Grilled Cheese & Beef Sandwich with Beans elevates a classic comfort food into a satisfying, flavor-packed meal. The combination of melted cheese, savory beef, and sweet baked beans creates a delicious harmony in every bite. By following the step-by-step guide and avoiding common pitfalls, you can consistently achieve #MeltedPerfection. It’s a versatile recipe perfect for a quick lunch or a hearty dinner, guaranteed to become a new favorite.