


Description
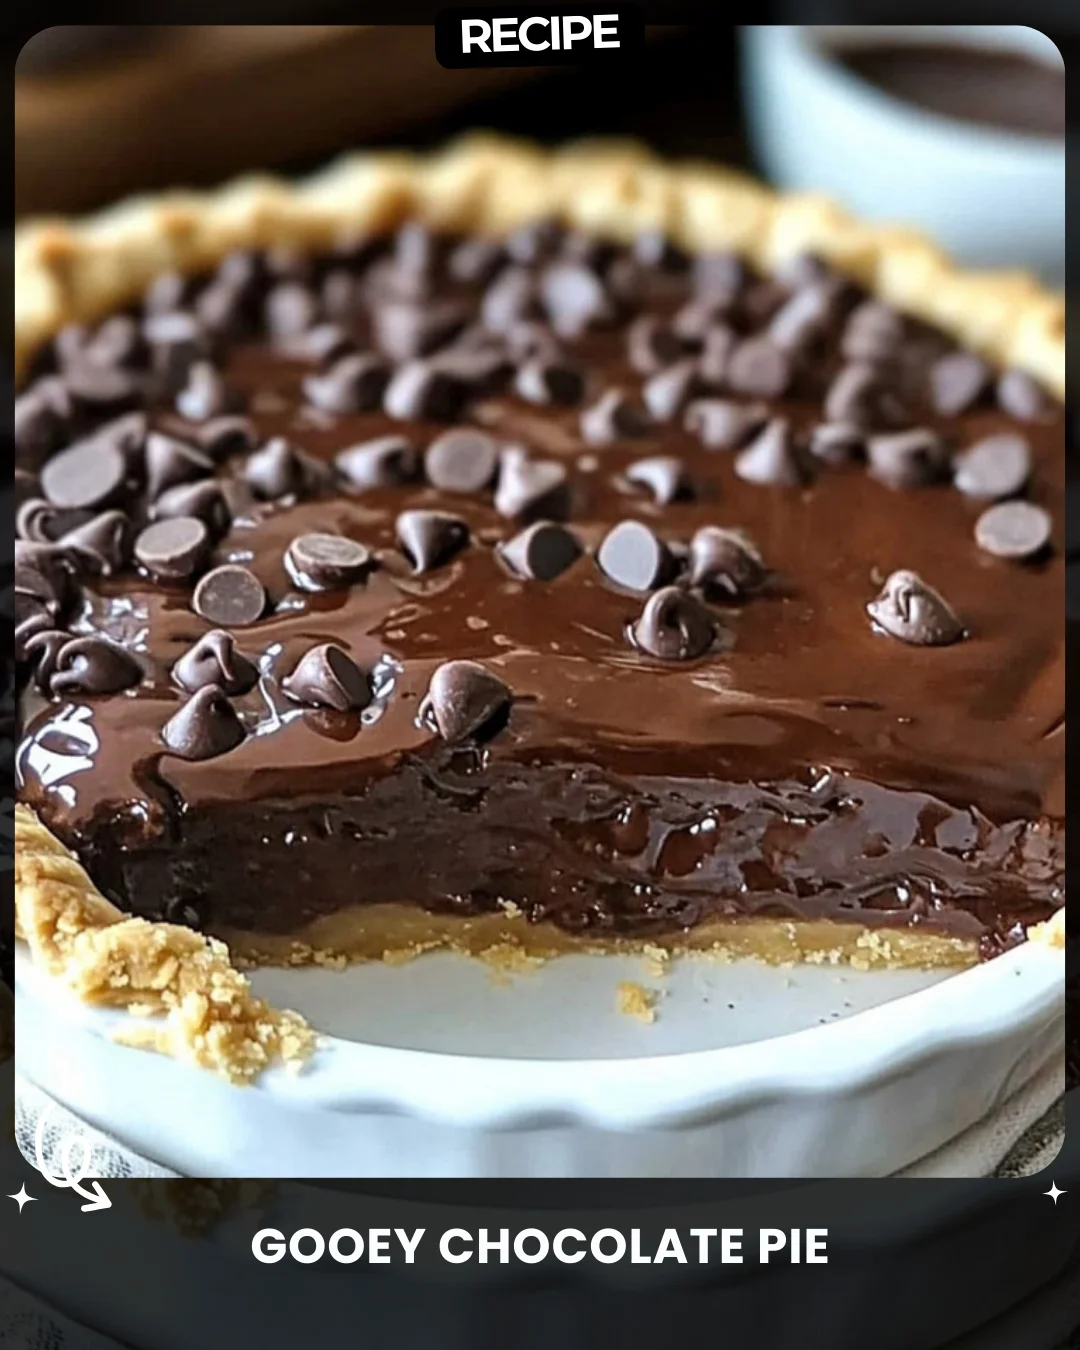
No-Bake Easy Cherry Chocolate Chip Pie
Ingredients:
1 pre-made crust
1 can cherry pie filling
1 cup semi-sweet chocolate chips
1 container whipped topping
1/4 cup sprinkles (optional)
Instructions:
Spread whipped topping in the crust.
Add cherry pie filling as the top layer.
Sprinkle chocolate chips and optional sprinkles for a festive touch.
Chill for 3 hours and enjoy.
#EasyCherryPieMagic
Step-by-Step Guide
Follow these detailed instructions for a perfect pie every time. First, ensure all ingredients are chilled. Place your pre-made pie crust on a serving plate. Using a spatula, gently spread the entire container of whipped topping into the crust, creating a smooth, even base layer that reaches the edges. Next, open the can of cherry pie filling. Spoon the filling evenly over the whipped topping layer, being careful not to mix the two. For a decorative finish, sprinkle the full cup of semi-sweet chocolate chips evenly across the cherry layer. If using, add the optional sprinkles for color. Immediately place the assembled pie in the refrigerator to chill for a minimum of 3 hours, which allows the layers to set firmly.
Serving Suggestions
This versatile pie pairs beautifully with many accompaniments. For an elegant dessert, serve each slice with a small scoop of vanilla bean ice cream or a dollop of extra whipped cream. A drizzle of warm chocolate or caramel sauce adds a gourmet touch. For a summer gathering, garnish with fresh mint leaves or a few extra whole cherries. It’s perfect for potlucks, birthday parties, or as a refreshing end to a heavy meal.
How-to Summary
In short: Spread whipped topping in a crust, top with cherry pie filling, sprinkle with chocolate chips and optional sprinkles, and chill for 3+ hours. The key is keeping the layers distinct and allowing adequate chilling time for the perfect slice.
Frequently Asked Questions
Can I use a homemade graham cracker crust? Absolutely. A homemade crust adds a lovely flavor. Simply mix 1.5 cups of graham cracker crumbs with 1/3 cup melted butter and 1/4 cup sugar, press into a pie dish, and chill for 1 hour before assembling.
How long will the pie keep in the fridge? The pie is best consumed within 2-3 days. Keep it covered with plastic wrap or in an airtight container to prevent the whipped topping from absorbing other fridge odors.
Can I use frozen whipped topping instead of the refrigerated kind? Yes, but ensure it is fully thawed in the refrigerator before spreading. Using it frozen or partially frozen will make it difficult to spread smoothly and may waterlog the crust.
Is there a dairy-free alternative? Yes. Use a dairy-free whipped topping alternative and ensure your chocolate chips are certified dairy-free. The pie filling and crust are typically already dairy-free, but always check labels.
Can I add other mix-ins? Certainly. Chopped nuts, toffee bits, or mini marshmallows are excellent additions. Fold them into the whipped topping layer or sprinkle on top with the chocolate chips for extra texture.
Common Mistakes to Avoid
Avoid these pitfalls for the best results. First, do not mix the whipped topping and cherry layers; distinct layers are crucial for texture and presentation. Second, never skip the full chilling time, as this step is what allows the pie to hold its shape when sliced. Third, ensure your whipped topping is cold and stable; if it’s warm or over-whipped, it will deflate and create a runny pie. Finally, do not add the chocolate chips before the cherry layer, as they will sink and not be visible in the final presentation.
Conclusion
This No-Bake Easy Cherry Chocolate Chip Pie is a guaranteed crowd-pleaser that requires minimal effort for maximum reward. Its combination of creamy topping, sweet-tart cherries, and rich chocolate chips creates a dessert that feels indulgent yet is surprisingly simple to prepare. By following the detailed steps and tips provided, you can master this delightful treat and adapt it to any occasion. It’s the perfect recipe to have in your arsenal for when you need a spectacular dessert without turning on the oven.