


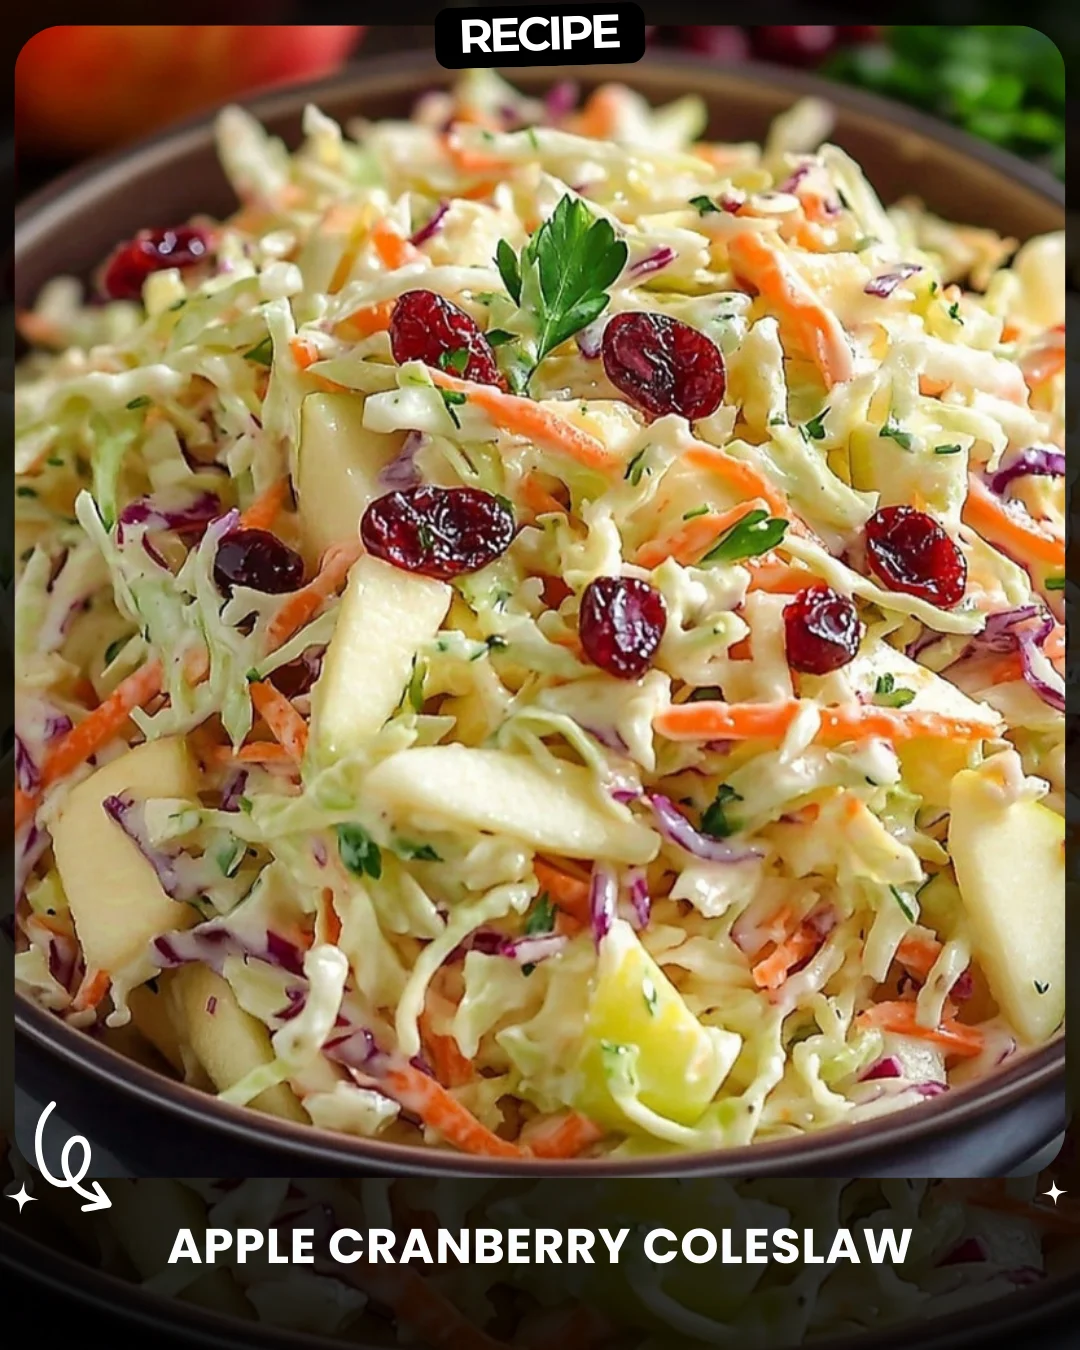
Description
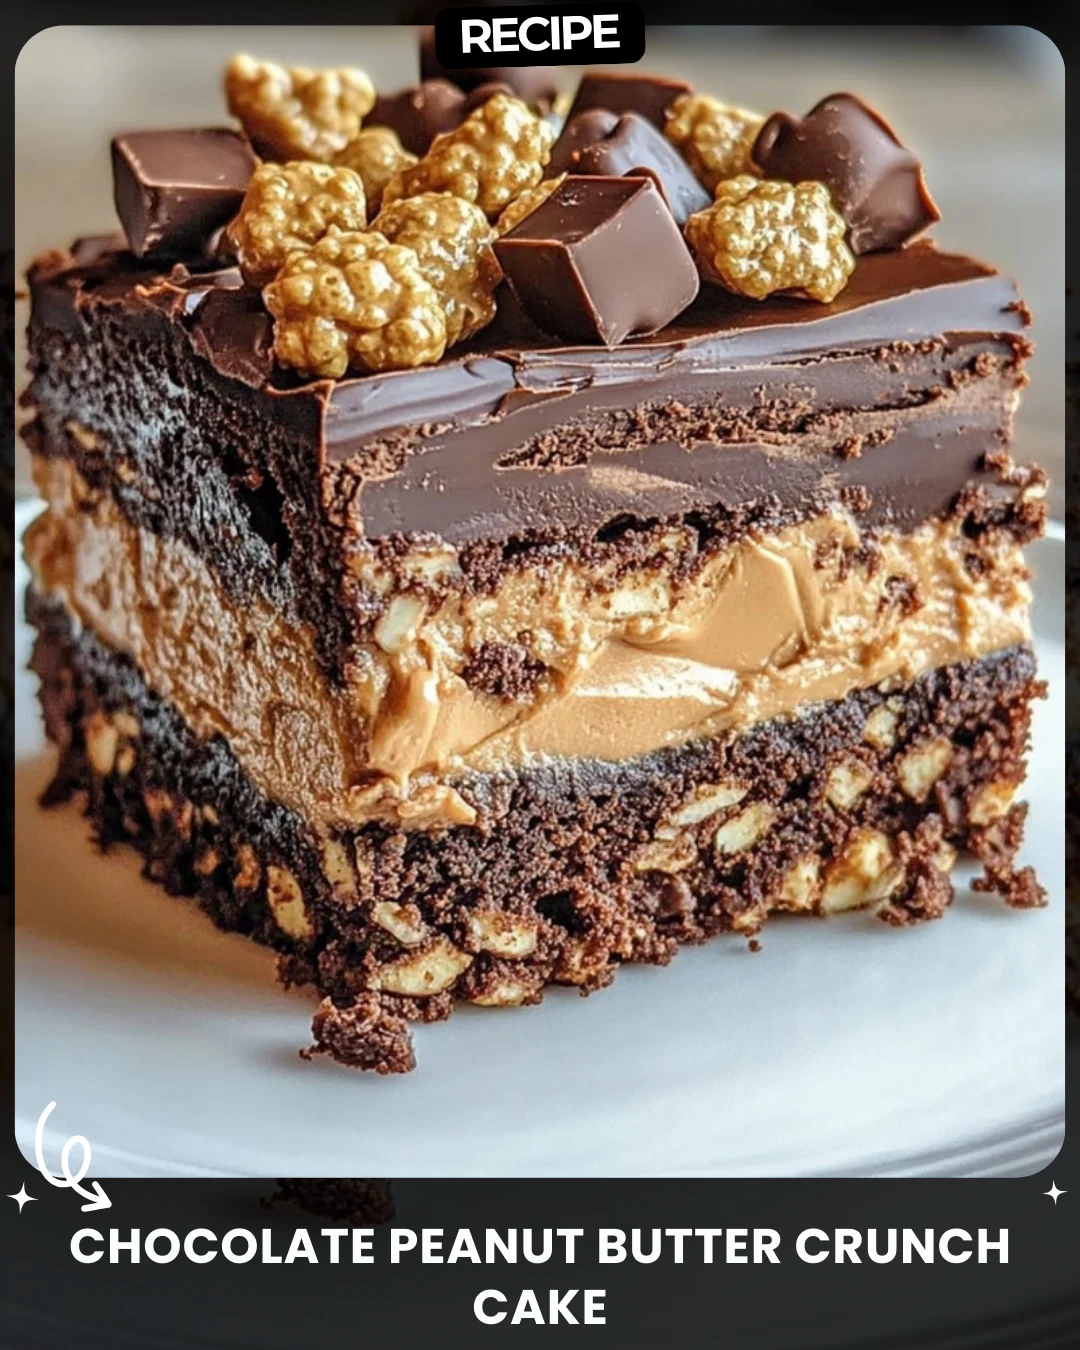
Chocolate Peanut Butter Crunch Cake
Layers of bliss in every bite!
Ingredients:
1 batch brownies (store-bought or homemade)
2 cups puffed rice cereal
1 1/4 cups creamy peanut butter
1/4 cup unsalted butter
2 1/4 cups powdered sugar
1/3 cup cream
2 cups milk chocolate chips
1/2 cup caramel drizzle (optional garnish)
Steps:
Prepare brownies and cool.
Mix peanut butter, butter, powdered sugar, and cream into a smooth paste, then spread over brownies.
Stir melted milk chocolate chips with puffed rice and layer over the peanut butter.
Add caramel drizzle for extra flair and chill for 2 hours.
Description:
Decadence made simple! Impress your guests with this layered dessert. Save this recipe for later! #LayeredBliss
Step-by-Step Guide
Follow these detailed instructions for perfect results every time.
- Prepare a 9×13 inch pan of brownies according to your recipe or box instructions. Allow them to cool completely in the pan.
- In a large mixing bowl, combine the creamy peanut butter and softened unsalted butter. Beat until smooth.
- Gradually add the powdered sugar and cream, mixing on low speed at first to avoid a cloud of sugar. Once incorporated, beat on medium until a thick, smooth paste forms.
- Spread the peanut butter mixture evenly over the completely cooled brownie layer. Use an offset spatula for a smooth finish.
- In a microwave-safe bowl, melt the milk chocolate chips in 30-second intervals, stirring between each, until smooth.
- Quickly fold the puffed rice cereal into the melted chocolate until every piece is coated.
- Immediately pour and spread the chocolate-crunch mixture over the peanut butter layer, pressing down gently.
- If desired, drizzle caramel sauce artistically over the top.
- Refrigerate the entire cake for at least 2 hours, or until firmly set, before slicing into squares.
Serving Suggestions
This cake is rich, so serve small squares. For a special touch, plate each piece with a dollop of whipped cream or a scoop of vanilla ice cream. A light dusting of sea salt or extra caramel drizzle just before serving elevates the flavors beautifully. It pairs wonderfully with a glass of cold milk or a strong cup of coffee.
How-to Summary
This no-bake layered dessert starts with a brownie base, topped with a creamy peanut butter frosting, a crispy chocolate-rice layer, and an optional caramel finish. The key is ensuring each layer is cool before adding the next, followed by a thorough chill to set everything perfectly.
Frequently Asked Questions
Can I use crunchy peanut butter?
Yes, crunchy peanut butter will add an extra textural element. For the smoothest frosting, however, creamy is recommended.
My peanut butter mixture is too thick. What can I do?
Add more cream, one teaspoon at a time, until it reaches a spreadable consistency. Be careful not to make it too runny.
Can I make this ahead of time?
Absolutely. This cake stores excellently. Cover it tightly and refrigerate for up to 3 days. The flavors often meld and improve.
What can I substitute for puffed rice cereal?
Crispy chow mein noodles or even crushed pretzels can provide a similar crunchy contrast.
Why did my chocolate layer get hard and crack when cutting?
This can happen if the cake is over-chilled. Let it sit at room temperature for 10-15 minutes before slicing to allow the chocolate to soften slightly.
Common Mistakes to Avoid
- Adding the peanut butter layer to warm brownies: This will cause the layers to melt and mix. Ensure the brownies are completely cool.
- Over-melting the chocolate: Melt slowly and stir often. Burnt or overheated chocolate will seize and become unusable.
- Skipping the chill time: This step is crucial for clean slices. Rushing it will result in a messy presentation.
- Using hot cereal: Make sure your puffed rice is at room temperature before adding it to the chocolate to maintain crispness.
Conclusion
This Chocolate Peanut Butter Crunch Cake is the ultimate crowd-pleaser, masterfully combining chewy, creamy, and crispy textures with classic flavors. Its simple assembly and make-ahead convenience make it perfect for potlucks, parties, or satisfying a serious sweet tooth. By following this enhanced guide and avoiding common pitfalls, you’re guaranteed a decadent, impressive dessert that truly delivers layers of bliss in every single bite.