Cooking and Serving: 65 minutes | 10 croissants
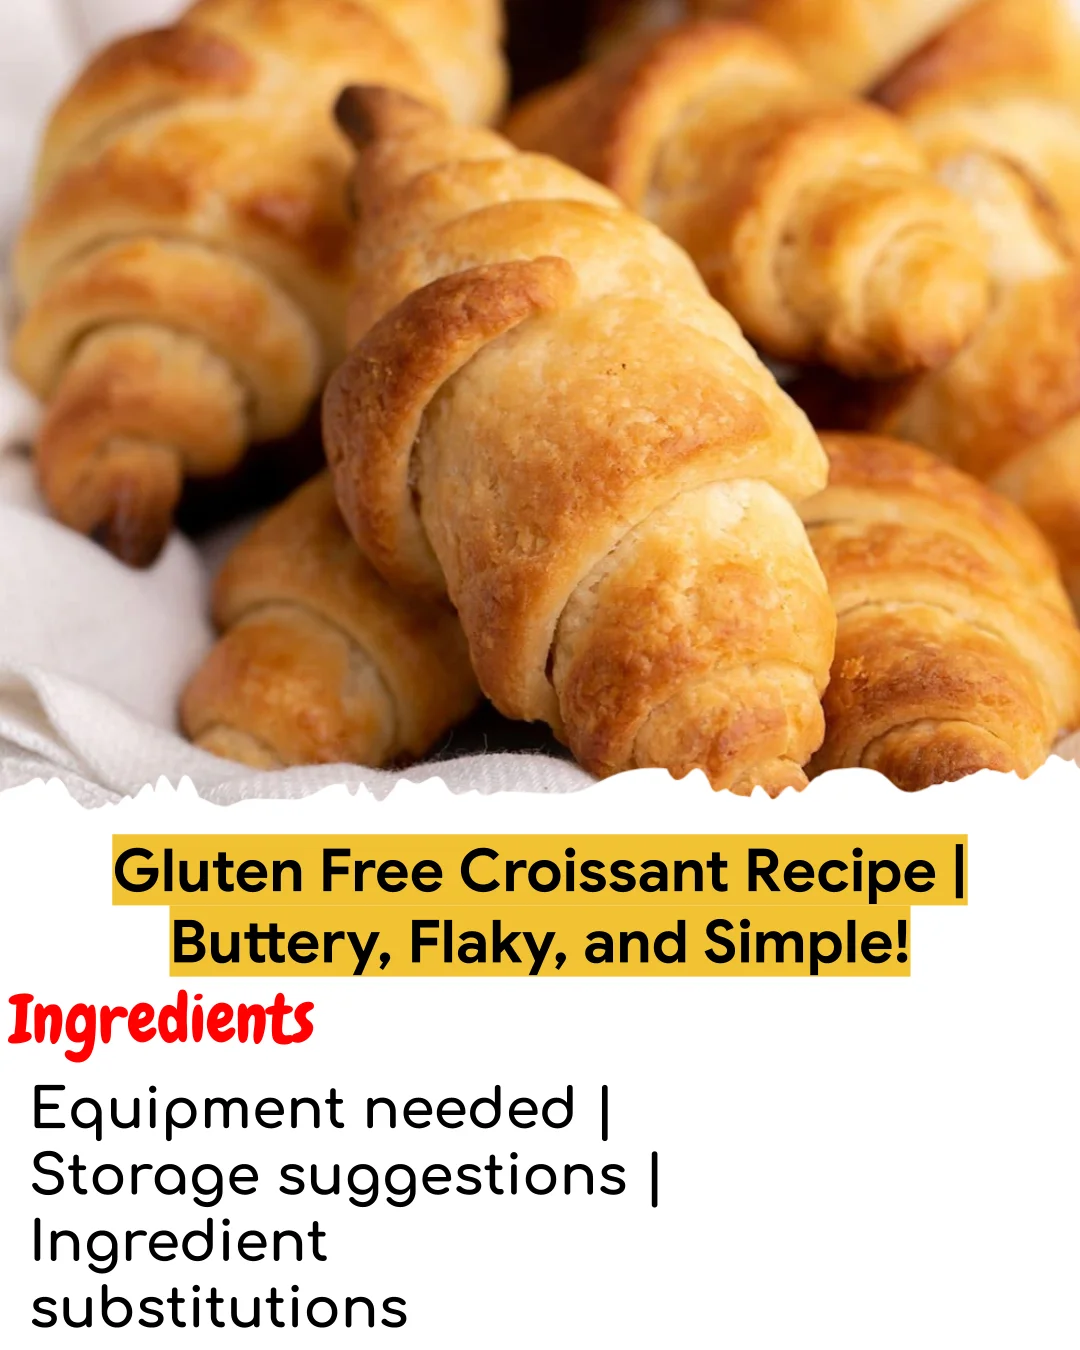
Ingredients
Equipment needed | Storage suggestions | Ingredient substitutions
Description
Prep Time: 45 minutes | Cook Time: 20 minutes | Total Time: 65 minutes | Servings: 10 croissants
Ingredients
Equipment needed
Expert tips
Storage suggestions
Ingredient substitutions
Instructions
the heat of the oven and puff up, forcing the flour layers up and out.
Gluten free pastry flour – For this easy gluten free croissant recipe, you.
need a pastry flour, which you can easily make yourself Batter all purpose flour, cornstarch, and dry milk.
Instant yeast – Yeast is what distinguishes gluten free croissant dough from.
Salt – Salt is a must to complement the intense buttery flavor, and to.
Butter – This is the star of the show. It’s what gives you that incredible.
Milk – This is the liquid that brings the gluten free croissant dough.
Eggs – We only need one egg for this gf croissant recipe, to brush on before.
baking, so you can achieve a rich, golden brown crust.
Pastry cutter or pizza cutter.
baked gluten free croissants on white paper on tray
lines help maintain definition.
the dough, and then refrigerating it until it’s solid again before proceeding.
container, and they’ll stay fresh for two to three days.
stay good for a couple of months.
then bake them for a few minutes at 350°F until they’re heated through.
for combining the dough, and of course, the butter.
inclined to try the coconut milk powder.
milk or coconut milk will probably work fine.
favorite brand is Melt, and when I can’t find that, I go with Earth Balance.
use melted butter or melted vegan butter in its place.
above for replacing the dairy and eggs.
croissants, but there is one you’ll likely be interested to know about.
few small pieces of chocolate onto the dough.
What’s the difference between croissant dough and puff pastry dough?
the first uses yeast and the second doesn’t.
laminating, but adding yeast gives croissants a puffier, flaky consistency.
Are croissants and crescent rolls the same thing?
What does it mean to laminate the dough?
the amount of dough. Begin gathering your ingredients, and following the recipe exactly as written.
GLUTEN FREE CROISSANT RECIPE | BUTTERY, FLAKY, AND SIMPLE!
Cook Time: 20 minutes mins
crust, and they’re still tender inside.
Pizza wheel or pastry wheel, for slicing/shaping.
2 ¼ cups (315 g) gluten free pastry flour.
Notes
* 2 teaspoons (6 g) instant yeast
* 2 tablespoons (24 g) granulated sugar
* 1 teaspoon (6 g) kosher salt
* 3 tablespoons (42 g) unsalted butter, melted and cooled
* ¾ cup (6 fluid ounces) whole milk, at room temperature
FOR THE BUTTER PACKET
* 16 tablespoons (224 g) unsalted butter, chilled
* ¼ cup (36 g) gluten free pastry flour
* Egg wash, (1 egg + 1 tablespoon water, beaten well), for brushing
* In a large bowl, place the flour, yeast and sugar, and whisk to combine well.
Add the salt, and whisk again to combine.
* Create a well in the center of the dry ingredients, add the butter and milk,
and mix until the dough comes together.
* Add more flour together.
* Turn out the dough onto a lightly floured surface, sprinkle the top very
lightly with more flour, and roll into a 9-inch round.
* Wrap tightly in plastic wrap and place in the refrigerator to chill while you
prepare the butter packet.
PREPARE THE BUTTER PACKET
* Sprinkle a piece of unbleached parchment paper with 1/8 cup (2 tablespoons)
of the flour, and place all 16 tablespoons (preferably in 2 whole sticks) of
butter on top and press together.
* Sprinkle with the remaining 2 tablespoons of flour, and cover with another
piece of unbleached parchment paper.
* Pound the butter with a rolling pin until it flattens and melds together.
* Uncover and fold the flattened butter in half, cover again with the parchment
and pound again until you have a 5-inch square butter packet.
* Cover the butter packet completely with parchment, and place in the
refrigerator to chill for 5 minutes or until firm.
WRAP THE DOUGH AROUND THE BUTTER PACKET
* Remove the 9-inch round dough from the refrigerator, unwrap it, and place it
on a lightly floured surface.
* Place the chilled butter packet directly in the center of the dough and score
the sides of the dough lightly to represent the exact size of the butter.
Remove the butter and set it aside.
* Using a rolling pin and sprinkling the dough lightly with flour as necessary
to prevent it from sticking, begin at the site of each of the four scorings
and roll the edges of the dough away from the center to create 4 flaps,
leaving the center of the dough intact.
* Return the butter packet to the intact center of the dough, and wrap the
flaps of the dough around the butter packet like you would a present.
ROLL OUT THE DOUGH WITH THE BUTTER AND COMPLETE THE FIRST “TURN”
* Sprinkle the dough-and-butter-packet lightly with more flour, and roll out
into a 1/2-inch thick rectangle.
* Fold the rectangle over on itself in thirds, as you would a business letter.
Sprinkle the dough again lightly with flour.
* With the length of the 3-layer rectangle of dough running parallel to your
body, roll the dough away from you into a rectangle that is again about
* Turn the left and right sides of the 1/2-inch thick rectangle over on
themselves again, as you would a business letter.
* You have just completed the first “turn.” Wrap the folded dough tightly in
plastic wrap and place in the refrigerator to chill for at least 4 hours or
COMPLETE THE REMAINING 4 TO 5 “TURNS”
* Once the dough has finished chilling after its first turn, repeat the process
of rolling the 3-layer dough out into a 1/2-inch thick rectangle, then
refolding the dough like a business letter, at least 4 more times, (for good
measure, 5 more times). After each turn, keep track the dough with one knuckle to represent the number turn you’re on (e.g.,
after 4 turns, make 4 notches).
* Be sure to wrap and chill the 3-layer rectangle of dough in the refrigerator
for at least 30 minutes (or the freezer for 10 minutes) in between turns. If
you let the dough chill for too long, it may become difficult to roll out
smoothly. Just let it sit at room temperature for a few minutes before
* Line rimmed baking sheets with unbleached parchment paper and set them aside.
* Roll out the prepared 3-layer croissant dough into a 1/4-inch thick
* Using a pastry wheel or pizza wheel (or very sharp knife—well-defined edges
are essential here), square the edges, then cut out as many 4-inch x 6-inch
rectangles as you can.
* Slice each rectangle diagonally into two triangles and separate the shapes
* Sprinkling lightly with flour as necessary to prevent sticking, roll each
triangle out to elongate it to about 8-inches from base to tip.
* Slice a notch into the base of each triangle about 1/2-inch deep, and roll
each triangle into a coil from base to tip, turning the edges slightly away
from each other as you roll.
* Place on the prepared baking sheets, seam side down, about 2-inches apart
* Cover lightly with oiled plastic wrap and place in a warm, draft-free
location until nearly doubled in size. You will see the individual layers in
each fold begin to separate slightly from one another once the croissants are
* Uncover the baking sheets and brush the tops and sides of the croissants with
* To avoid gluing the coiled layers of each croissant together, brush with the
egg wash sides in one motion on each side, with the “grain” of each coil, not against.
CHILL THE PROOFED CROISSANTS
* Place the shaped and proofed croissants in the refrigerator to chill for at
least 10 minutes or until mostly firm.
* While the shaped croissants are chilling, preheat your oven to 400°F.
* Place the chilled and proofed croissants in the center of the preheated oven,
one baking sheet at a time, and bake for about 20 minutes, or until deep
golden brown all over and firm to the touch.
* Allow to cool briefly before serving.
About gluten free pastry flour.
You can use either Better Batter or Nicole’s Best (my own proprietary gluten
free flour blend) to build a gluten free pastry flour. Here’s the simple
formula, which does require a tiny bit of math. For every 1 cup (140 grams) of
pastry flour, you need:
* 80% all purpose gluten free flour blend (with xanthan gum), cup or 140 grams, 80% is 112 grams)
* 10% cornstarch, * 10% milk powder,
For this recipe, which calls for a total of 2 1/2 cups (350 grams) of gluten
free pastry flour, you need:
* 280 grams all purpose gluten free flour blend (with xanthan gum*)
* 35 grams cornstarch
* 35 grams milk powder
*If you are using Nicole’s Best, as your all purpose gluten free flour blend,
you need to add 1 rounded teaspoon of xanthan gum according to the Nicole’s Best
which calls for a heaping or rounded 1/2 teaspoon of xanthan gum per cup of
flour when making pastry)
For full details on gluten free pastry flour
through the link on the ingredient above.
I no longer recommend Cup4Cup gluten free flour because they changed their
formula. It functioned on its own like a pastry flour. If you’d like make your
own version of the previous formula, please follow my recipe for mock Cup4Cup
Fiber: 2g | Sugar: 3g | Vitamin A: 694IU | Vitamin C: 0.01mg | Calcium: 30mg |
Nutrition information is automatically calculated, so should only be used as an
If you’ve ever wondered whether you could really make truly light and flaky
gluten free croissants at home, this is the recipe and these are the step by
step photos that will convince you forever. Yes you can!
you’ve ever wondered whether you could really make truly light and flaky gluten
free croissants at home, this is the recipe and these are the step photos that will convince you forever. Yes you can!