Cooking and Serving: 65 minutes | 18 cake pops
Ingredients
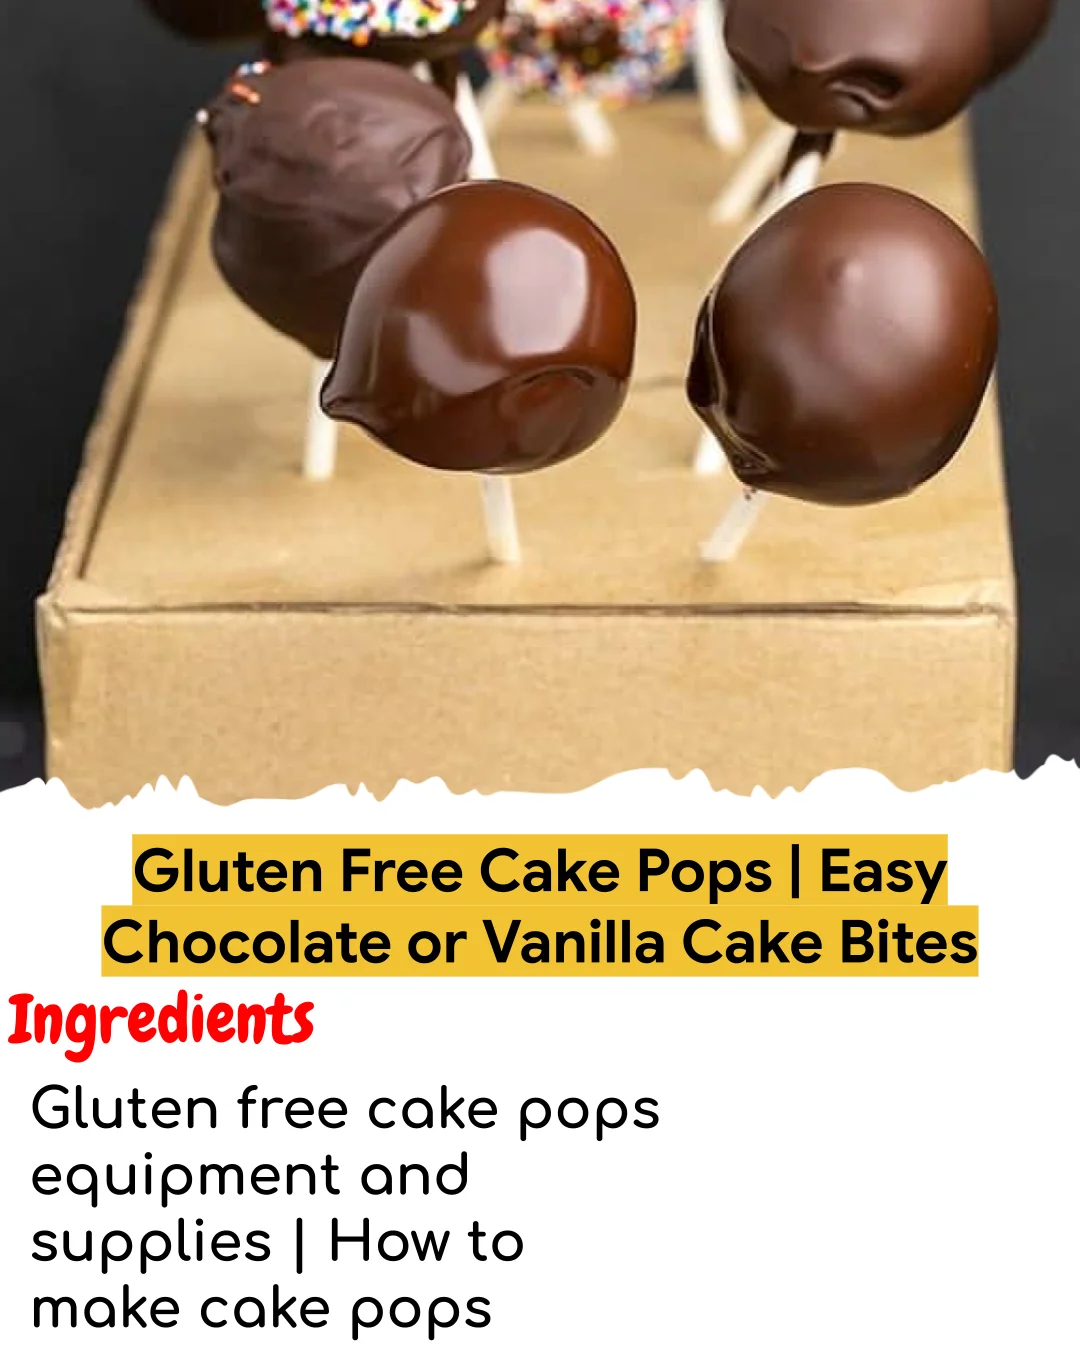
Gluten free cake pops equipment and supplies | How to make cake pops without a cake pop mold | Tips for making the best gluten free cake pops
Description
Prep Time: 30 minutes | Cook Time: 35 minutes | Total Time: 65 minutes | Servings: 18 cake pops
Ingredients
Gluten free cake pops equipment and supplies
How to make cake pops without a cake pop mold
Tips for making the best gluten free cake pops
How to store your gluten free cake balls
Gluten free cake pop: substitutions
Instructions
GLUTEN FREE CAKE POPS INGREDIENTS
Gluten free cake (chocolate or vanilla) – I made half recipes of each of my.
gluten free cake mix cakes (chocolate and vanilla).
in a 6-inch x 2-inch round cake pan. You can make just one of the homemade.
6-inch cake recipes below, any gluten free cake recipe.
the blog, a boxed cake mix (use 1/2 the cake or make double the cake pops),.
or a store-bought gf cake, and use more or less frosting depending on how.
moist the cake crumb is.
Gluten free frosting – I included a recipe for a simple vanilla buttercream.
frosting here, which makes more than enough frosting to make plenty of cake.
pops. I like to have more frosting than I think I’ll need, so I don’t get.
caught short. Remember only to use just-enough frosting to keep the cake.
crumbs together. If you use too much, your cake balls will be too soft to.
hold onto the stick and hold together when dipped in chocolate.
Gluten free chopped chocolate – I usually melt semi-sweet chocolate for.
dipping, but you can use dark chocolate if you like a less-sweet cake pop. I.
typically melt it in a heat-safe bowl in the microwave for 30-seconds at a.
time, stirring well in between, to avoid burning the chocolate or making it.
Virgin coconut oil – A touch of virgin coconut oil (the kind that’s solid at.
cool room temperature) mixed into the melted chocolate helps the chocolate.
set up well after you’ve dipped your cake pops.
Gluten free sprinkles and/or nonpareils – Since I use a simple chocolate.
coating, sometimes I dip in some gluten free sprinkles, nonpareils, or small.
candy pieces while the coating is still wet. It gives them that wow factor!
GLUTEN FREE CAKE POPS EQUIPMENT AND SUPPLIES
Lollipop sticks – I use white 6-inch long lollipop sticks, and have made many.
cake pops over the years with a single package of 100 6-inch long lollipop.
sticks (I make a small commission if you click that.
link). There are shorter (4-inch long) and longer (12-inch long) sticks. I.
recommend against the shorter sticks as they’re just too hard to handle.
without making a mess. The 12-inch sticks are quite long, but it’s easier to.
prop them up in a tall drinking glass for them to dry.
A block to hold cake pops as they dry – In the past, I’ve used a rectangular.
block of styrofoam (the kind for flower arrangements) to hold the opposite.
end of each cake pop while it dries (with the business end up in the air),.
but this time I didn’t have one. So I found a lidded cardboard box and poked.
very, very small holes in the top with a skewer. A tiny screwdriver or small.
pointy scissors would work, too.
Overhead image of 6 inch chocolate cake 6 inch vanilla cake and white frosting.
image of 6 inch chocolate cake 6 inch vanilla cake and white frosting.
HOW TO MAKE CAKE POPS WITHOUT A CAKE POP MOLD
We make these cake pops free-form, mixing baked and crumbled gf cake with.
frosting, and rolling it into a ball. You don’t need a mold to hold the cake in.
shape, or an electric cake pop maker, which bakes cake batter into rounds.
A spring-loaded ice cream scoop is helpful to create portions of the cake pop.
mixture that are about 1 1/2 tablespoons in volume (a #50 scoop works really.
well). To make sure the cake balls are firm enough to hold their shape, place.
them in the freezer before dipping them.
CAKE POPS OR CAKE BALLS? THE CHOICE IS YOURS.
You can still dip cake pops without a stick directly onto the top of the melted chocolate mixture. With a dipping fork (or.
just a fork with long, thin tines), carefully press down to immerse the ball in.
the chocolate. Rotating your wrist, in a U-shaped motion, upend the cake ball,.
then push it back up through the chocolate.
Tap off excess chocolate on the side of the bowl, and then ease it off the.
dipping fork or spoon, onto a piece of parchment paper. Allow to set at room.
Cake pop on lollipop stick being dipped in melted chocolate.
pop on lollipop stick being dipped in melted chocolate.
TIPS FOR MAKING THE BEST GLUTEN FREE CAKE POPS
NOT TOO LITTLE FROSTING, NOT TOO MUCH FROSTING.
If you use too much frosting, the cake balls will be weepy and won’t hold their.
shape on the stick when you dip them in chocolate, even after they’ve been.
chilled. If you use too little frosting, your cake balls will crumble when you.
try to dip them in chocolate.
Add the frosting to the cake crumbs slowly, since you can always add more but.
can’t remove excess since you’ll only know it’s too much after you’ve mixed.
everything together. You’ll know you have enough frosting mixed into your cake.
crumbs when the mixture is.
DIP YOUR LOLLIPOP STICK FOR A STRONG HOLD
Since the cake pop stick, or lollipop stick, is smooth and kind of slick, dip.
one end in the melted chocolate about 1/2-inch deep, then set it on parchment.
paper and let it set. That will help the cake ball hold onto the stick.
BE SURE TO CRUMBLE THE CAKE FULLY INTO CRUMBS
Make sure to press the firmer edges of the cake into crumbs using your thumb and.
forefinger. You can also try crumbling the cake from the top down, avoiding some.
of the outside edges that tend to be more firm.
LET YOUR GF CAKE POPS SET AT COOL ROOM TEMPERATURE.
A proper mixture of melted chocolate with a tablespoon of virgin coconut oil.
should create the perfect chocolate coating for your cake pops to dry smooth and.
matte at cool room temperature. If your kitchen is very warm, watch your cake.
pops carefully to ensure that they don’t begin to ‘sweat’ or they’ll develop.
beads and bubbles on the surface.
MAKING A STAND FOR YOUR GF CAKE POPS
It’s important to give your cake pops a proper place to dry after they’ve been.
dipped in the chocolate coating. You can use an empty, lidded cardboard box into.
which you poke very, very small holes (a tiny screwdriver works really well) to.
wedge the lollipop sticks into or styrofoam blocks (like the kind you use for.
The coated cake pops do dry quite quickly, though, so if you are caught without.
anything to use as a drying stand for your decorated cake pops, dip them one at.
a time and hold each until it’s mostly set, then place top-down on a piece of.
clean parchment paper. They may flatten a tiny bit on top, but will still look.
Step melted chocolate.
HOW TO STORE YOUR GLUTEN FREE CAKE BALLS
The coated cake pops will stay fresh for a couple of days at cool room.
temperature, since the chocolate coating keeps the inside protected. But be sure.
that your kitchen doesn’t get very warm, or the outside of the balls will.
develop condensation that ruins the appearance.
If your chocolate wasn’t melted gently enough, refrigerating the coated cake.
pops may cause them to develop white streaks, which don’t harm the taste at all.
CAN I FREEZE CAKE POPS?
Yes, any remaining cake pops can be piled into a freezer-safe zip top bag or.
container and frozen for at least 2 months. You can also store the uncoated cake.
balls in the freezer before coating them in chocolate, but don’t leave them.
uncovered or they’ll eventually develop freezer burn.
GLUTEN FREE CAKE POP: SUBSTITUTIONS.
GLUTEN FREE, DAIRY FREE CAKE POPS.
To make these cake pops dairy free, you’ll need a dairy free gluten free cake, a.
dairy free frosting, and a dairy free chocolate for the coating. The gluten free.
chocolate cake recipe below is naturally dairy free. For a dairy free frosting,.
try using vegan butter in place of unsalted butter in the recipe below, and.
nondairy milk where regular milk is used. You can also use one of the.
store-bought gluten free frostings that are also dairy free, like Pillsbury.
EGG FREE, GLUTEN FREE CAKE POPS.
To make the chocolate cake recipe below without eggs, try replacing the eggs in.
that recipe with 2 “chia eggs” (2 tablespoons ground white chia seeds mixed with.
2 tablespoons lukewarm water, allowed to gel). For the vanilla cake, for the.
whole egg, use 1 “chia egg” as just described (but 1/2 as much, for 1 egg), and.
for the egg white, try using aquafaba (the brine from a can of chickpeas).
GLUTEN FREE, VEGAN CAKE POPS.
eggs and dairy, and make sure your sugars are made without bone char.
GLUTEN FREE CAKE POP TOPPING IDEAS
There are plenty of options for decorating the outside of your cake pops. Just.
be sure to press your cake pop gently into these toppings right after dipping,.
before the chocolate coating has had a chance to set:.
gluten free sprinkles or nonpareils.
miniature chocolate chips (avoid regular chocolate chips, which are too large.
crushed gluten free cereal.
Unshaped cake pop portions on white paper on gold tray.
cake pop portions on white paper on gold tray.
FAQS
ARE STARBUCKS CAKE POPS GLUTEN FREE?
No! Starbucks cake pops are made of cake made with wheat-based flour. They.
should be avoided if you’re gluten free.
CAN I MAKE THIS CAKE POP RECIPE WITH CAKE MIX FROM THE STORE?
Yes! You can definitely use a box gf cake mix to make these cake pops. You’ll.
need about 1/2 the recipe, or you can simply make twice the number of cake pops!
HOW MANY CAKE POPS CAN I MAKE PER CAKE MIX RECIPE?
This recipe calls for about 1/2 the amount of gluten free cake as a full cake.
mix makes, and makes about 18 cake pops. If you were to use double the amount of.
cake and other ingredients, you’ll make about 36 cake pops, so get those sticks.
HOW BIG SHOULD MY GLUTEN FREE CAKE POPS BE?
I like to use a #50 spring loaded ice cream scoop to make 1-inch round cake.
balls from the cake and frosting mixture. Each has about 1 1/2 tablespoons of.
HOW LONG DO GLUTEN FREE CAKE BITES LAST?
The coated cake pops will last at least 2 days on the counter, at cool room.
temperature. They’ll last about 2 months stored properly in the freezer, though.
WHAT’S THE PERFECT CAKE TO FROSTING RATIO FOR CAKE POPS?
Exactly how much frosting do you need to make the perfect cake ball mixture is.
the ultimate question! But it depends on exactly how moist the cake you’re using.
is. The gf vanilla cake in this recipe has a bit more moisture than the gf.
chocolate cake, so I use about 2 tablespoons of frosting for the vanilla cake,.
and nearly 3 for the chocolate cake.
CAN I ADD MIX-INS TO THIS GLUTEN FREE CAKE POP RECIPE?
I don’t recommend adding any mix-ins into the cake that you crumble to make into.
cake balls and later cake pops here. Any pieces in the cake crumbles could make.
it difficult to get the cake ball mixture to hold together properly.
CAN I USE LEFTOVER CAKE TO MAKE GLUTEN FREE CAKE POPS?
Yes! You can definitely make use of leftover cake to make cake pops. Try to.
WHY AREN’T MY GLUTEN FREE CAKE POPS HOLDING TOGETHER WHEN I DIP THEM?
If your cake pops are crumbling into the chocolate mixture, your cake balls may.
have too much frosting (making them too soft; just add a bit more crumbled cake.
to firm up the texture). If the cake balls haven’t chilled to a very firm.
texture, they will fall apart during dipping (just stick them back in the.
A close up of a cake pop.
close up of a cake pop.
A close up of 2 different cake pops.
close up of 2 different cake pops.
Cake pop on white surface.
GLUTEN FREE CAKE POPS | EASY CHOCOLATE OR VANILLA CAKE BITES.
Prep Time: 30 minutes mins.
Cook Time: 35 minutes mins.
Chilling/resting times: 1 hour hr.
See how easy it is to make delicious gluten free cake pops. Choose your favorite.
cake mix, frosting, and decorations with this simple gf cake pops recipe.
EQUIPMENT
Handheld mixer or stand mixer fitted with paddle attachment.
Rectangular block of styrofoam or a square or rectangular lidded cardboard.
box with very small holes cut in the top (for drying cake pops).
FOR THE CHOCOLATE CAKE
⅝ cup (88 g) all purpose gluten free flour blend.
(I used Better Batter; click thru for appropriate blends).
¼ teaspoon xanthan gum, (omit if your blend already contains it).
7 tablespoons (35 g) unsweetened natural cocoa powder.
½ teaspoon baking powder.
¼ teaspoon baking soda.
⅛ teaspoon kosher salt.
⅝ cup (125 g) granulated sugar.
3 tablespoons (42 g) neutral oil, (canola, vegetable, grapeseed oils all.
2 (100 g (weighed out of shell)) eggs, at room temperature, beaten.
⅜ cup (3 fluid ounces) lukewarm water.
FOR THE VANILLA CAKE
¾ cup (105 g) all purpose gluten free flour blend.
(I used Better Batter; click thru for appropriate blends).
⅜ teaspoon xanthan gum, (omit if your blend already contains it).
¼ cup (24 g) powdered milk.
¾ teaspoon baking powder.
¼ teaspoon baking soda.
⅛ teaspoon kosher salt.
½ cup (100 g) granulated sugar.
4 tablespoons (56 g) unsalted butter, melted and cooled.
1 (100 g (weighed out of shell)) egg, at room temperature, beaten.
1 (25 g) egg white, at room temperature.
⅔ cup (5 ⅓ fluid ounces) lukewarm water.
1 teaspoon pure vanilla extract.
FOR THE FROSTING
6 tablespoons (85 g) unsalted butter, at room temperature.
1 ¼ cups (144 g) confectioners’ sugar, plus more as needed.
⅛ teaspoon kosher salt.
¼ teaspoon pure vanilla extract.
FOR THE CHOCOLATE COATING
6 ounces gluten free semi-sweet baking chocolate, roughly chopped.
1 tablespoon (14 g) virgin coconut oil, or non hydrogenated vegetable.
FOR DECORATING (OPTIONAL).
Sprinkles or nonpareils for decorating (optional).
TO MAKE THE CHOCOLATE CAKE
Preheat your oven to 350°F. Grease a 6-inch x 2-inch round or 8-inch round.
cake pan, and set it aside.
Transfer the dry ingredients to a large bowl and create a well in the center.
Add the oil, eggs, and water, mixing to combine well after each addition.
Transfer the cake batter to the prepared cake pan.
Place the cake pan in the center of the preheated oven. Bake until a.
toothpick inserted in the center comes out mostly clean, or with a few moist.
crumbs attached (about 35 minutes for a 6-inch cake; about 28 minutes for an.
Remove the pan from the oven and allow the cake to sit in the pan for at.
least 10 minutes before transferring to a wire rack to cool completely.
TO MAKE THE VANILLA CAKE
Preheat your oven to 350°F. Grease a 6-inch x 2-inch round or 8-inch round.
cake pan, and set it aside.
Transfer the dry ingredients to a large bowl and create a well in the center.
Add the melted butter, beaten egg, egg white, and water, mixing to combine.
well after each addition.
Transfer the cake batter to the prepared cake pan.
Place the cake pan in the center of the preheated oven. Bake until a.
toothpick inserted in the center comes out mostly clean, or with a few moist.
crumbs attached (about 35 minutes for a 6-inch cake; about 28 minutes for an.
Remove the pan from the oven and allow the cake to sit in the pan for at.
least 10 minutes before transferring to a wire rack to cool completely.
TO MAKE THE FROSTING
In the bowl of a stand mixer fitted with the paddle attachment, or a large.
bowl with a handheld mixer, place the butter. Beat on medium speed until.
creamy (about 30 seconds).
Add 1 1/4 cups (143 g) of confectioners’ sugar, the salt, vanilla, and 1.
teaspoonful of milk. Beat on medium speed until well-combined (about 1.
Beat in more confectioners’ sugar until the consistency is thick but not.
stiff. Turn up the mixer speed to high and beat for about 5 minutes or until.
TO MAKE THE CAKE BALLS
Line a small rimmed baking sheet with parchment paper. Make sure the baking.
sheet is small enough that it can fit in your freezer.
In a large bowl, crumble the baked and cooled cake (chocolate, vanilla, or a.
combination) between your fingers until it’s all crumbs. Make sure to press.
the firmer edges of the cake into crumbs using your thumb and forefinger.
Add frosting to the crumbs slowly, using just enough frosting to keep the.
cake moistened enough to hold together in a ball. Try starting with 2.
tablespoons of frosting per 6-inch cake.
Press the cake together with the frosting with the back of a spoon until the.
mixture is smooth. Add more frosting as necessary just to fully moisten all.
Scoop the cake ball mixture into portions about 1 1/2 tablespoons in volume.
A #50 spring-loaded ice cream scoop works really well.
In between clean palms, press and roll each portion of the mixture into balls.
about 1 inch in diameter. Place the balls on the prepared baking sheet.
Place the cake balls in the freezer for at least 30 minutes, or in the.
refrigerator up to a few hours. They must be very cold and feel solid.
Once the cake balls come out of the refrigerator, you will want to work.
quickly, since you’ll want to work with each of them while it’s very cold.
TO PREPARE THE LOLLIPOP STICKS
Place a clean sheet of parchment paper on your work surface. Stick the end of.
each of the lollipop sticks about 1/2-inch deep into the melted chocolate.
mixture, then place on the parchment paper.
Allow the chocolate on the sticks to rest until it’s set (no longer.
glistening wet). You can place the coated sticks in the freezer for a few.
minutes to speed the setting process.
TO FINISH THE CAKE POPS
Melt the first 5 ounces of chocolate microwave-safe bowl, microwaving it on high for 30 seconds at a time,.
stirring in between until smooth. Once it’s removed from the heat, add the.
coconut oil and mix until smooth and shiny.
Remove only a few cake balls from the freezer at a time. Insert the.
chocolate-dipped end of each stick halfway into each cake ball.
Holding the other end of the stick, dip the cake ball straight down into the.
melted chocolate mixture until the cake is completely submerged.
Move the cake ball forward in the chocolate in a motion the shape of a “U,”.
ending up and out of the chocolate. This is to ensure that the whole pop is.
Tap the neck of the stick right below the cake ball very, very gently on the.
side of the bowl with the melted chocolate to remove the excess chocolate.
Dip the still-wet chocolate in gf nonpareils, if using.
Stick the bottom of each prepared but wet cake pop into a block of styrofoam.
or in a cardboard box with small holes cut in it. Allow to sit at cool room.
temperature until the chocolate is set.
Store at room temperature. The chocolate forms a protective layer that.
remains solid at room temperature and keeps the cake pop relatively fresh for.
You can freeze any leftovers in a freezer-safe zip top bag. Allow to come to.
room temperature before serving.
Notes
To make cake balls without sticks.
If you’re not using lollipop sticks, just place each ball directly onto the top
of the melted chocolate coating.
With a dipping fork (or gently with an iced tea spoon), carefully press down to
immerse the ball in the chocolate. Rotating your wrist, in a “U” motion, upend
the ball and push it back up through the chocolate.
Tap off excess chocolate on the side of the bowl, and then ease it off the
dipping fork or spoon, onto a piece of parchment paper. Allow to set at room
Originally published on the blog in 2011. Recipe tweaked for clarity but largely
unchanged. Most photos, video and all text new.
Nutrition information is automatically calculated, so should only be used as an